Monthly Archives: December 2010

Snowman Gift Bags

Originally published in December 2008, but I’m making more of them and thought it’d be fun to bring out of the archives.
A few edits are in italics.  And I’ll probably also add a little snowman outline this time, too.

*****************

With Christmas and a baby due at the same time, I’m trying to be as pre-prepared as possible.  I’ve purchased all my gifts, and wrapped about half of them.  I’m a big fan of the gift bag.  I like to wrap, but if I can put something in a bag with some tissue…why not?  But when I went to the store, I had a specific snowman gift bag in my mind(to match the little teacher gifts I’d already bought).  Oh, I could find a plethora of snowman gift bags…but nothing was just right.  Too big, too little, too lime green, too this, too that…and pink and blue for Christmas?

So I decided that it’d be fun to let the kids make gift bags for their teachers(and once I saw how cute and easy it was, we made a whole pack of 10!)  This is what the finished project looks like:

snowmanbag09

If you’d like to make some, here are the directions.

Step One
For starters you’ll need to gather your supplies:

snowmanbag01

-White gift bags(can be purchased in packs of 10 in most craft stores)
**Edited to add: It has taken me a lot longer to find these bags this year.  I’ve been told they have them at Michael’s.
-Some type of black fabric for the hat, 1 per bag(I had plain cotton fabric in my “scraps” box, but you could easily use felt)
-Black circles for the eyes, 2 per bag(I used “Foamies“, since my kids love them and they already have a sticky back, but you could also use felt or just paper)
**Edited to add:  I have also used buttons, but I’m pretty sure they’re more of a choking hazard if you have little people.
-Orange “Foamies” paper(or regular paper or felt) cut into the shape of carrot noses, 1 per bag
-Buttons, 2 per bag(I used actual red buttons for most of them, but Lydia wanted some pink ones so we cut those out of “Foamies” paper, too)
-Strips of fleece in three different lengths, 1 of each length per bag
-Black paint or black pen
-Glue (and/or “glue dots” for putting on the buttons, if you’d prefer)

Step Two
Cut out the hat shapes from black felt or fabric.  The size will depend on the size of your bag, so that part is up to you!

snowmanbag02

Step Three
Cut out the strips of fleece.  The shortest will need to be the same width as the small part of the hat.  The longest strips will need to be about 10-12 inches long.  The medium strips can be made by cutting the long strips in half(5-6 inches long).

snowmanbag03

Step Four
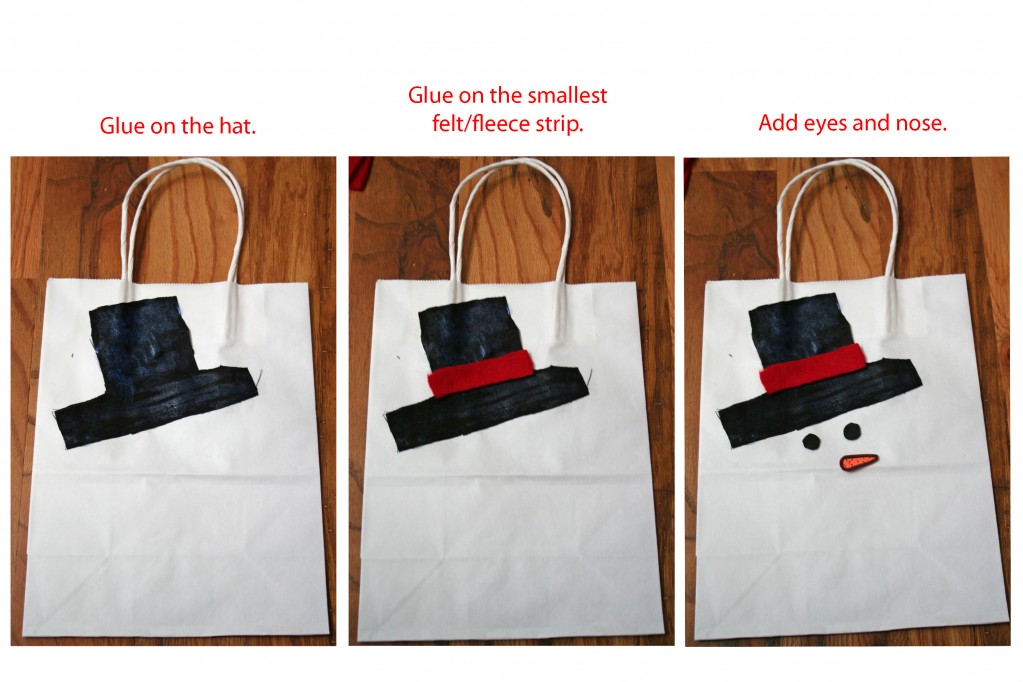
Let the gluing begin! Glue on the hat.  Glue on the smallest felt/fleece strip.  Add eyes and a nose.
Step Five
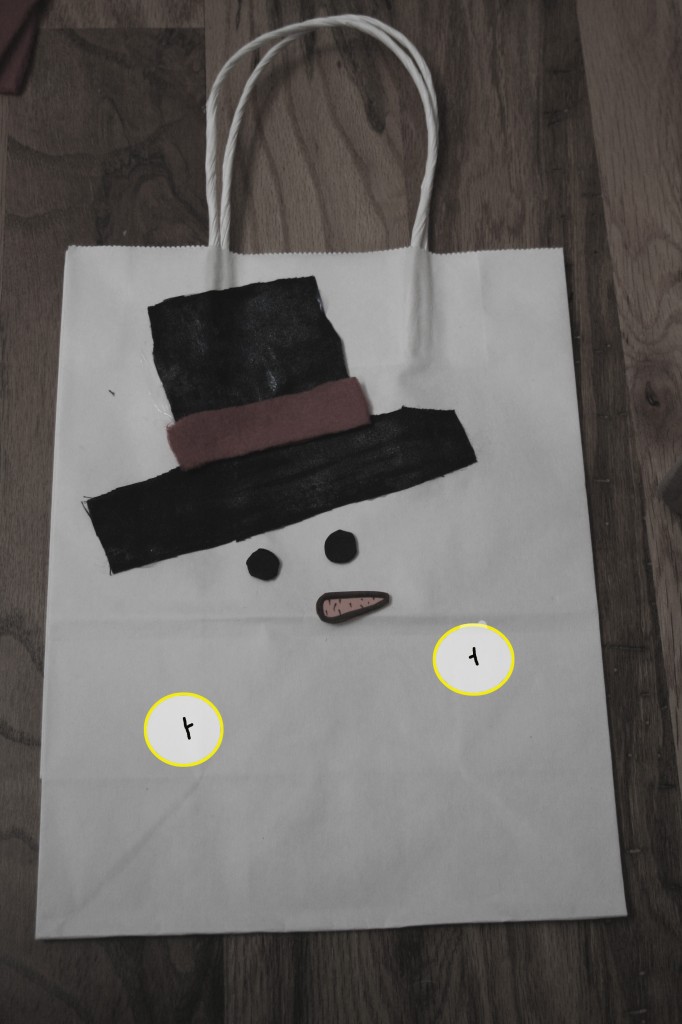
Mark the bag with little lines(one on each side, as seen below in the yellow circles), and cut the bag on those lines.
Step Six
Thread the longest piece of fleece through the holes in the bag, and then tie the medium piece on to the longest piece to make a cute knot in the scarf.
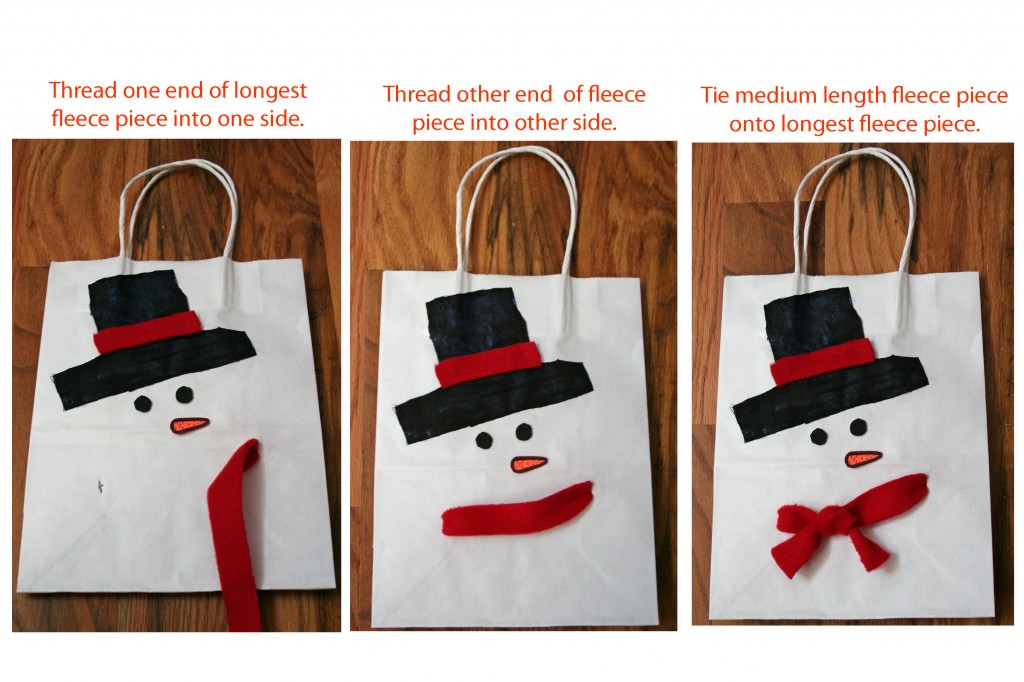
Step Seven
Add the buttons(with glue or craft dots if you’re using real buttons, or with foamie paper made to look like buttons).  Draw in the smile.  I used black puff paint dots to make it “pop” a little, but you could easily use a sharpie.

snowmanbag08

Add a little tissue paper, fluff it up, and you’ve got something you(and your kids) can enjoy and share with others!

12 Crafts of Christmas {Personalized Pendant}

One of my favorite necklaces is one I found on Etsy last year, a custom photo pendant from Tiny Trees Boutique.

I actually have several of her pendants: a picture of my kids, an old-fashioned camera, and an floral one.

And then a few weeks ago I learned about Dimensional Magic from Infarrantly Creative,
when she vlogged about how to make paint chip necklaces.

And I decided to try my hand at making my own pendants.

We have friends who are adopting from Ethiopia (they leave TOMORROW!!!!!!!!!!!!!!!),
For the the mom, I made a pendant with the shape of Ethiopia surrounding the word “enat”, which is mom in Amheric.
For the girls, I made similar pendants that say “ehit”, which is Amheric for sister.
But I forgot to take pictures!
(Are you as shocked as I am??)

And I had great intentions of making a pendant this weekend and photographing each step.
And well, my weekend kind of didn’t go as planned and I didn’t get around to it.

So here are the hastily assembled pictures from this morning.
They aren’t the best pictures I’ve ever taken, but you get the point.
(And the pendant looks a lot better in real life than it does in these photos!)

HOW TO MAKE A PERSONALIZED PENDANT

**This project should be done on top of a piece of wax or freezer paper.**

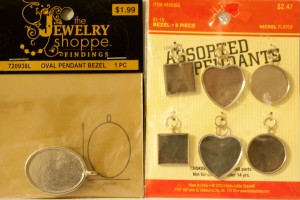
Step One: Find pendant bases.  This was the hardest part of the whole process.  (Not even kidding!)
I finally found these at Hobby Lobby.  The oval one is much thicker and more durable but takes a lot longer to dry.

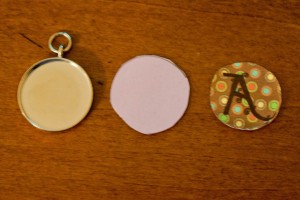
Step Two: Trace your pendant base and cut it out to make a template for what you’ll want to cut.
It doesn’t have to be perfect, but make sure it’s a teeeeeny bit bigger than the size you actually want.

Step Three: Print out your picture or use scrapbook paper and, using the template, cut out your shape.

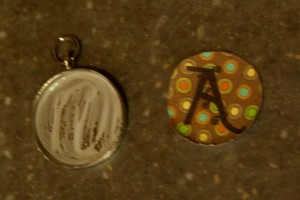
Step Four: Use plain old Mod Podge to paint the inside of the pendant.

Step Five: place the paper on top of the mod podged base and smooth it out.
Then cover it with another layer of Mod Podge and let it dry for at least 20 minutes.

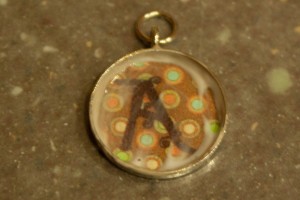
Step Six: Once it is dry, it’s time to add the Dimensional Magic.
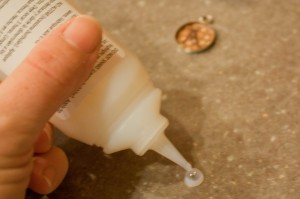
You’ll want to start out by putting a dot of DM on the wax paper.
(You will get an air bubble every time you start using it and you don’t want that on your pendant!)

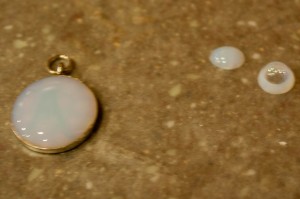
Step Seven: WITHOUT turning the bottle back over, you’ll cover the entire pendant with DM.
I like to start out edging the whole thing and then filling in to the center.

(Notice the air bubble off to the side…you wouldn’t want that on your pendant.)

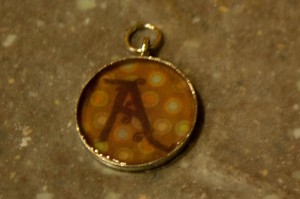
Step Eight: Wait for the DM to dry.  The bottle says that it takes about 3 hours to dry,
but I’ve been doing them at night and letting them dry while I sleep.
That way I’m not tempted to touch it and get my grimy little finger prints on there!

*******************
Want to see more of my crafty creations?

Check out the other 12 Crafts of Christmas:
Week One: Silhouettes
Week Two: Personalized Wall Clocks
Week Three: Glass Etching
Week Four: Fancy Fingerpaint Art
Week Five: Freezer Paper Stencils
Week Six:  Tie-Knot Fleece Blanket
Week Seven: Jewelry: Ribbon & Pearl Bracelet, Wool Ball Necklace, DIY Button Earrings
Week Eight: Chalkboard Paint Ideas: Glasses, Chalkboard, Candle, Love Box
Week Nine: Frugal Finds
Week Ten: Personalized Pendants
Week Eleven: Edible Edition

I don’t do that often.

I cried today.
Like the real, big ugly cry.
The kind of cry that scares small children.
(Literally.)

Friday started with above average chaos at home,
followed by special activities at school
and lunch with a by-then very tired 2 year old.

And then a two hour drive on which no one napped.

And then the complete destruction of our friend’s playroom.
(Sorry, Noelle.  Really, really sorry.)

Then a late (for my kids) night party, which was fun and wonderful and something I didn’t want to miss,
but which made for very cranky children and more tears and general bedlam of sleeping somewhere other than home.

And there was the 2 year old who coughed and turned and coughed and twisted for hours on end.
And the baby-in-my-belly who is apparently planning on becoming a gymnast.

And there were the multiple pregnancy-I-must-pee-right!!!!!-now!!!! in the middle of the night,
including one time where my knee unexpectedly found the edge of the train table.

And the point where said sick coughing baby kicked me out of the bed.

And then the drive back to home…oh the drive back home…

Listening to yet another  Veggie Tales movie and
trying my damnedest not to close my eyes for even just a teeny-tiny-little-sec.

Exhausted from the night before,
Bladder full, but alone in the car with three small children…
I contemplated peeing on the side of the road.

But we were so close.  Maybe 10 minutes out.
I can make it!
Surely I can make…

Bluh-dund.  Bluh-dunt.  Bluh-dunnnnn.

Are you kidding me???
I don’t have time for a flat tire!!
I’ve got to PEEEEEEEEEEEEEEEEEE!!!

Call Marshall.
My knight in shining armor comes to save me.

Rushed phone calls.
Angry bladder.
Frustration at the whole situation.
Exhaustion.

And then, right then…I lost it.
I just couldn’t handle it any more.

I’m not generally a crier.
(Exception: Singing or speaking at church)

I call my mom.
Please go with me to the tire place.
I’m so tired.

Exhaustion.
Pure exhaustion.

I’m no superman” plays on repeat in my head.
Complete with the “wah-ah-wah-ah-wahhhh”.

And I cried.
The ugly cry.

Hours later my eyes still feel puffy.

But you know what?
The tire could have blown and flipped the car.
Someone could have hit me from behind when I was easing off the road on a curve.

The tire place is usually busy, but not today.
Today was the last day for a $50 discount on my brand of tires.
And tomorrow is the last day of my “club” discount.

Some may call that lucky.
I call that blessed.

And sometimes I forget how truly blessed I am.
Lots of little things like this and many, many big things too.

Jesus loves me, this I know.
For the bible tells me so…

even when I ugly cry especially when I ugly cry.

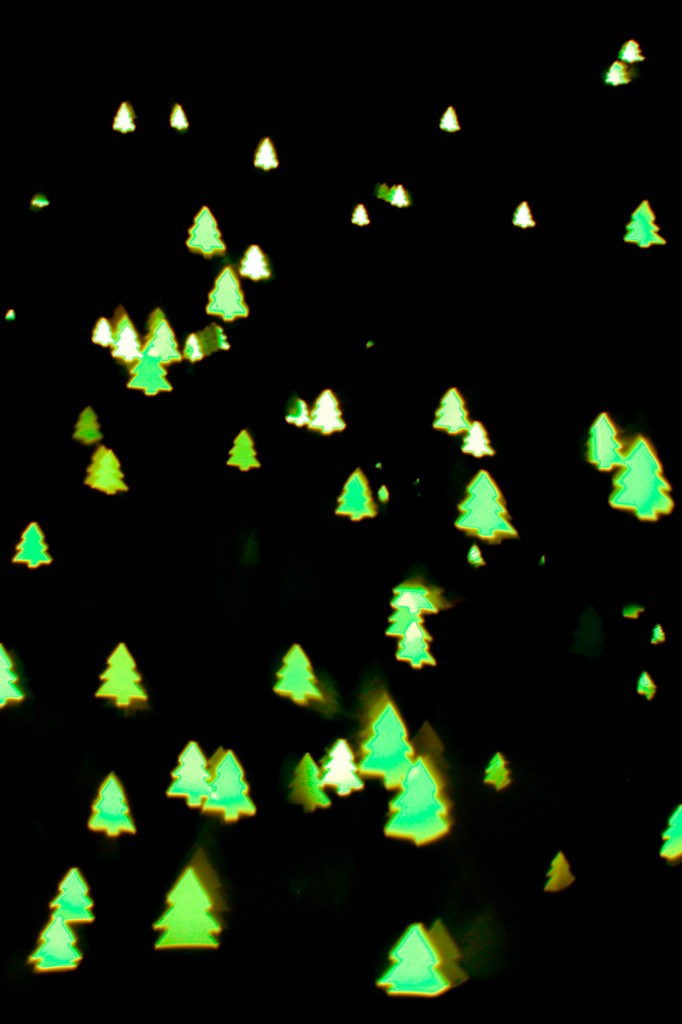
Shaped Bokeh

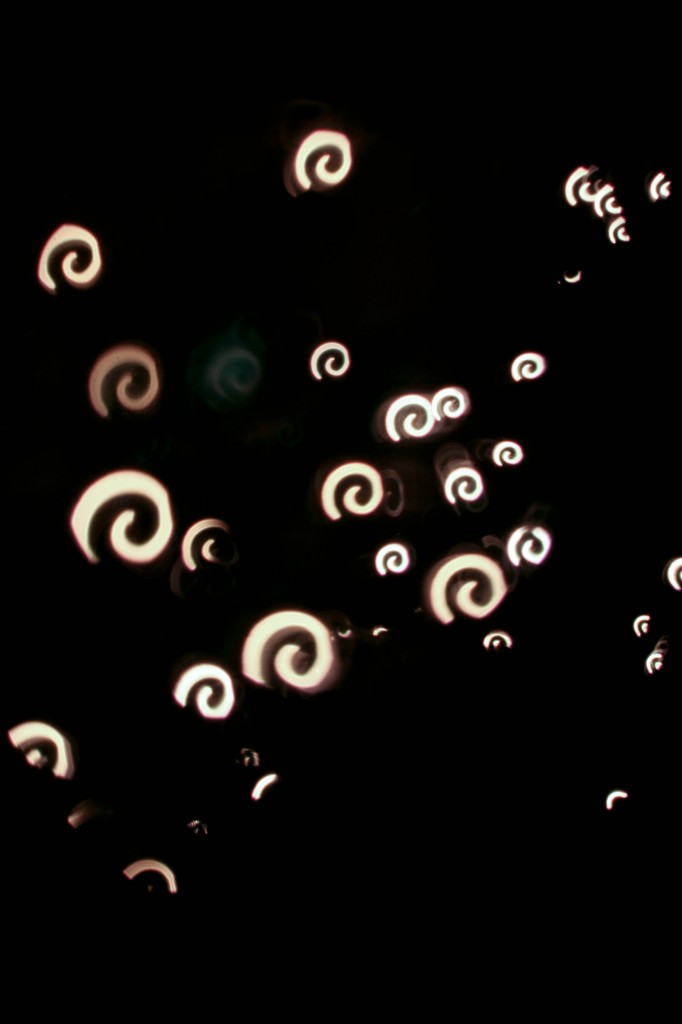
A few days ago, Casey posted this picture and when I asked how she’d done it,
So within maybe 10 minutes, she wrote back that it was really super easy to do…if you have the Bokeh Masters Kit.

But I was so anxious to find out how to do it, that I didn’t even give her a chance to respond before I googled it
And found this DIY tutorial on how to make your own shaped bokeh filter.

Let me say this:  It was really easy to make.
I already had black paper and a few scrapbook punches that I used to cut out my shapes.

But then I wanted a tree shape and a snowflake shape.
I didn’t have punches for those(and I’m not going to buy a punch just for that)…

So I drew out a tree and a snowflake and I cut them out by hand-
Which was kind of time consuming and I really didn’t like the way my snowflake ended up looking.

Also the one that I made is made of paper.
It’s not going to last very long at all.
So I’m probably going to end up buying the $15 Demo Kit
And making a few of my own discs to see if they’ll fit in there.

I can’t wait to try this out as a backdrop for pictures!
(Although with such a wide open app, I probably shouldn’t count on my children to be still enough for that!)

Wordless Wednesday {A Style of Her Own}