
Blog, meet my newest addiction: Freezer Paper Stencils.
I originally saw this post and knew for sure that I wanted to make this shirt for both Lydia and the little Diva.
And after reading the update at the end, I did a little googling about freezer paper stencils.
Guess what? There are tons of tutorials and about 100 different ways to explain how to.
But it is really really easy, and doesn’t take too long!
For the example shown here, I hand-drew the stencil BUT you can easily run the freezer paper through any ink jet printer,
which is what I did for all of the ones in the last picture on this post.
And although it would be much easier to do with a Silhouette,
it is definitely somewhat cathartic to sit down and cut out all the little pieces by hand.
So…you only need a few things for this craft: an item you want to personalize(all shirts shown here, but you could do any fabric item), freezer paper(usually found in the grocery section near the wax paper), scissors, non-dimensional fabric paint(I used Folk Art Fabric paint from Joann’s), paint brush(I like to use the cheap foam ones) and an iron.
STEP ONE:
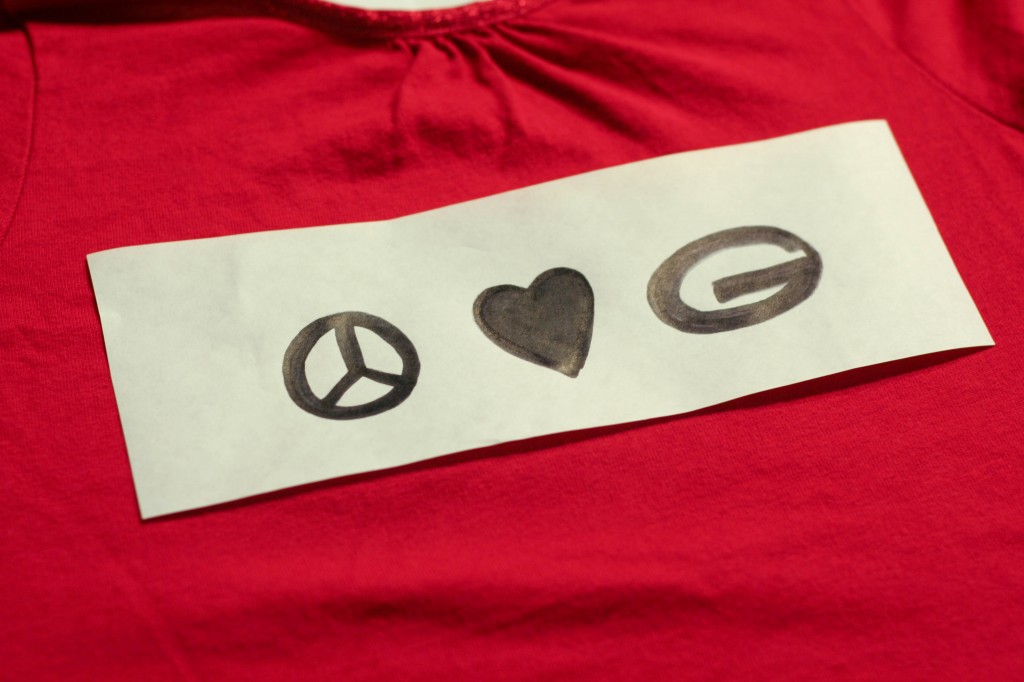
Draw or print out whatever image or words you want to stencil on the matte(not shiny) side of the paper.
You can get some really great ideas by going to google images and searching for “line art” of whatever you’re interested in.
For example, the guitar at the bottom of this post was found by googling “guitar line art”.
Here I drew Peace*Love*Georgia…’cause even when we lose to Florida, we’re still Dawg fans around here.
STEP TWO:
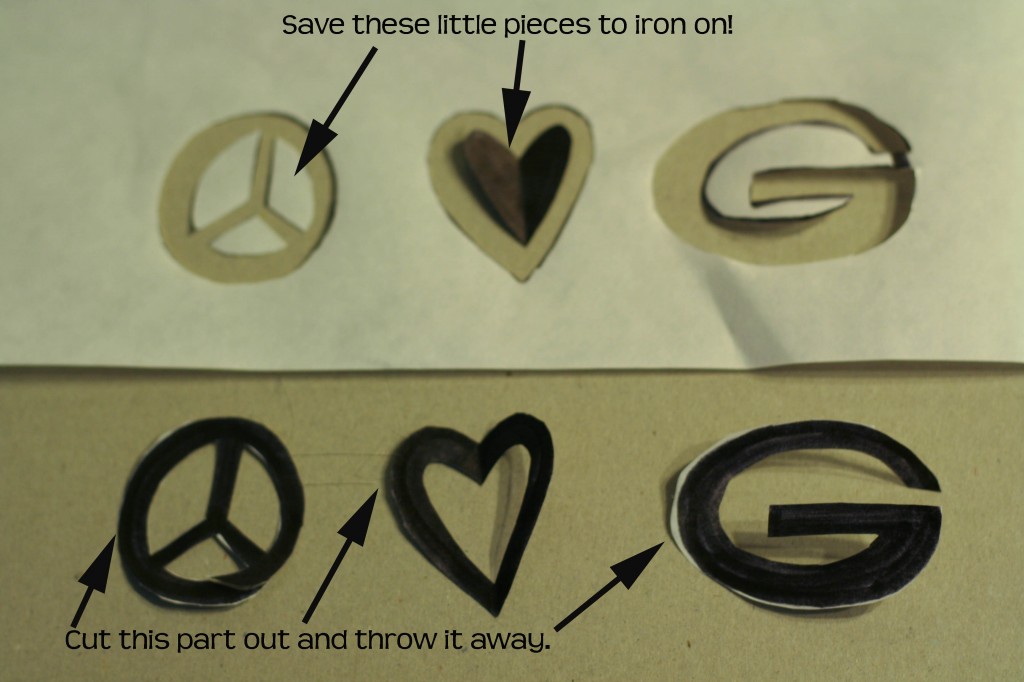
Cut out your stencil. You will be cutting out the black parts(the lines) and throwing them away.
(I accidentally colored in a full heart, which is why I did save that one black piece.)
STEP THREE:
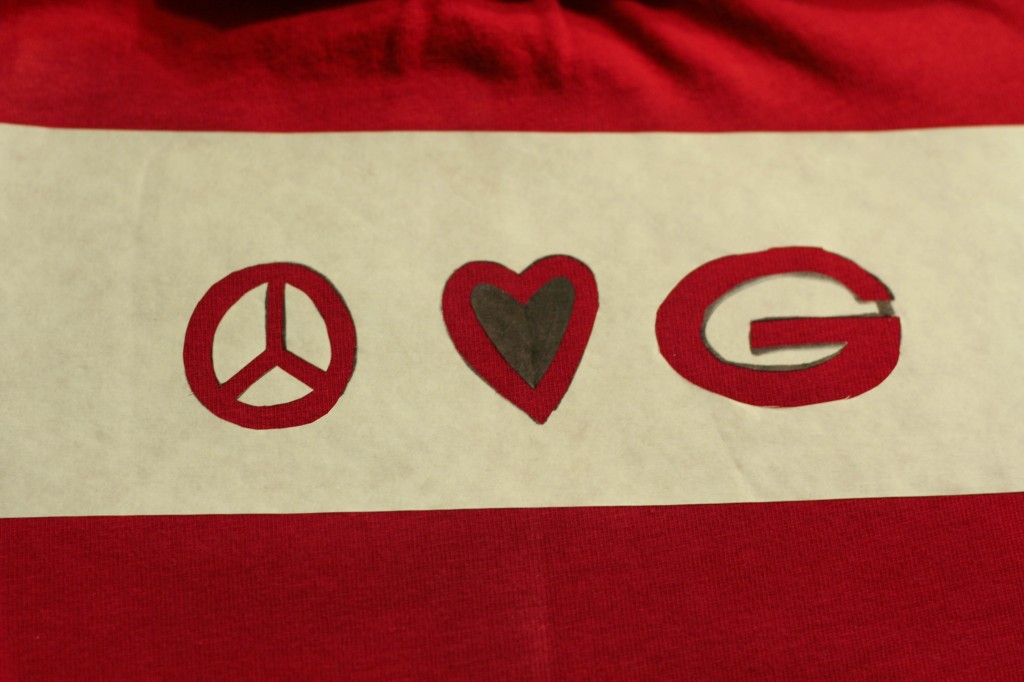
With the shiny part DOWN, iron on the big part of your stencil.
Don’t worry about the little pieces right now.
But don’t loose them! They go on next.

STEP FOUR:
Iron on “the insides”, also shiny side down.
STEP FIVE:
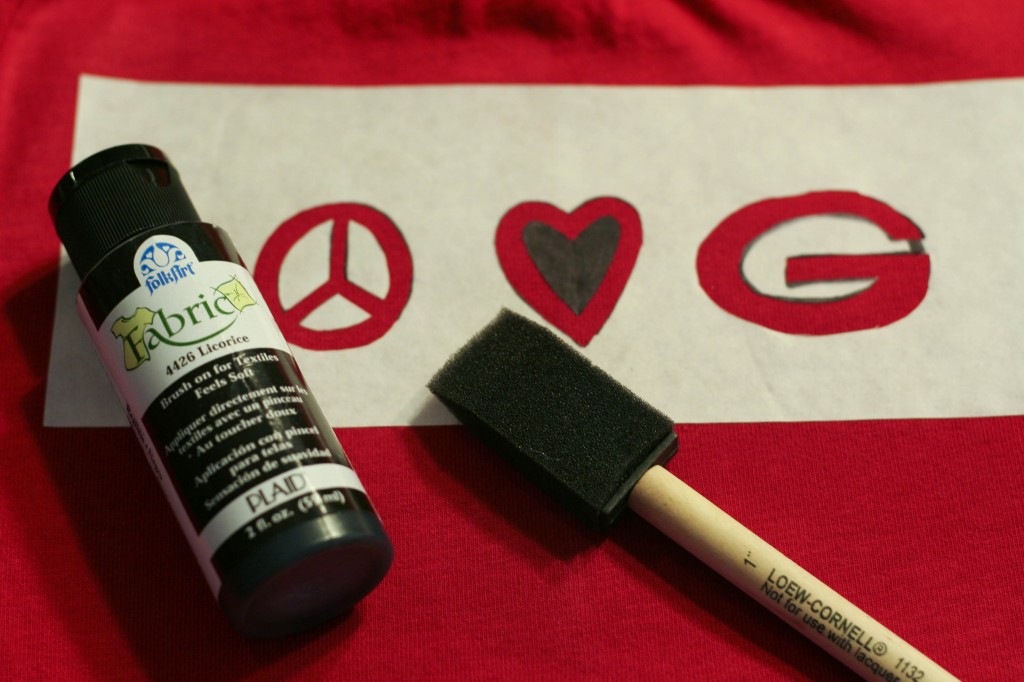
Get out your fabric paint and paint brush.
This is when you need to MAKE SURE that you have something inside the shirt(like cardboard or a magazine)
to keep the paint from bleeding through to the other side of the shirt/item.
Um…that’s the voice of experience speaking there!
(Also, you can do multiple colors and multiple layers, but it’s a little more time-consuming and difficult.
Email me if you want more directions on that!)
STEP SIX:
Paint on the freezer paper stencil, fully coating the fabric but careful not to paint off the edges of your paper.
I usually do one well-saturated layer of paint.
However, if you are doing a light color on a dark shirt, you may want to let it dry and paint another layer.
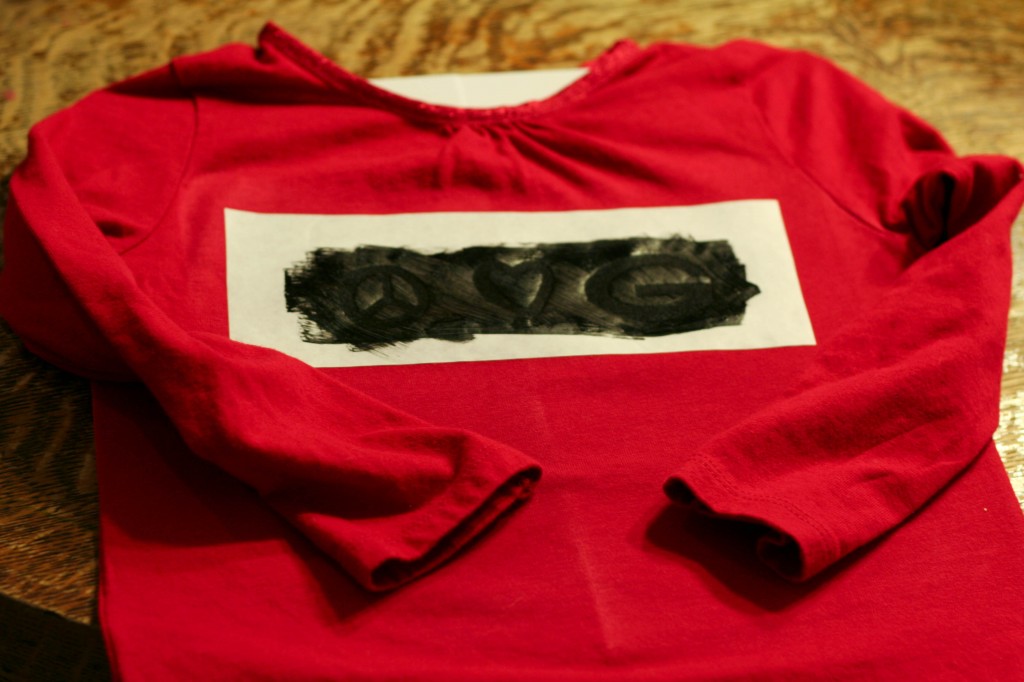
STEP SEVEN:
Once the paint is dry, peel off the little pieces first.
(I honestly don’t know how long it takes the paint to dry.
But with my first few attempts I took the stencil off too early and smudged it.
Now-because I’m so impatient-I paint it and then go to bed.
If I’m asleep, I’m not tempted to pull them off too soon!)

STEP EIGHT:
Now slowly peel off the big part of the stencil and YOU’RE DONE!

See some of the fun shirts I’ve made so far?


*******************
Want to see more of my crafty creations?
Check out the other 12 Crafts of Christmas:
Week One: Silhouettes
Week Two: Personalized Wall Clocks
Week Three: Glass Etching
Week Four: Fancy Fingerpaint Art
Week Five: Freezer Paper Stencils
Week Six: Tie-Knot Fleece Blanket
Week Seven: Jewelry: Ribbon & Pearl Bracelet, Wool Ball Necklace, DIY Button Earrings
Week Eight: Chalkboard Paint Ideas: Glasses, Chalkboard, Candle, Love Box
Week Nine: Frugal Finds
Week Ten: Personalized Pendants
Week Eleven: Edible Edition


Oh yes I love them! I might need to make Bella some of those cute cat eye shirts! Oh the ideas I have! Thank-you for getting my wheels a turnin’!
Very cute!
Love the “classically trained” shirt!
I, too, LOVE the Classically Trained Shirt.
cool, I plan on using etsy ONLY for xmas this year!
love the idea of 12 days of projects! i’m working on a new blog/hub for free handmade tutorials (http://maketwincities.blogspot.com/2010/11/silk-screening-for-people-with-no.html) and like your “my parents are exhausted” T! Thanks for the ideas!
Way cool! So easy anyone can do it.
I would love for you to share a link to this on my new meme.
http://www.crystalandcomp.com/2011/07/the-mommy-club-share-your-resources-and-solutions/