
This is possibly the easiest homemade gift ever!
I have made several of them for baby gifts, birthday gifts and holiday gifts,
but my brother (who works at a monogram store) says that they are super-popular with the sorority girls.
There are a lot of ways you can do a fleece tie-knot blanket.
You can use a single piece of fabric and tie just the top and the bottom.
You can use a single piece of fabric and knot all sides.
You can use a collection of fleece squares to make a super knot blanket
(similar to this one-which we bought, but hated the cheap-o fabric).
You can even add a back to that, if you want.
Or you can use 2 pieces of high-quality fleece like I’ll be showing here.
Fleece is almost always on sale these days, and I actually found nice, thick fleece at Hancock’s for $4/yard!
The blanket that you see here is a 36″x58″ blanket, which is the size I typically do for toddlers.
For babies, I usually do anywhere from 36″x36″ to 40″x40″ because I like them to be square.
But you can really do any size you want.
(I like to buy more fabric than I need, so I usually buy 2 yards.)
So what do you need and how to do you make it?
All you need is 2 yards each of 2 coordinating fabrics and a pair of scissors!
STEP ONE: Lay out your fabric and measure how big you’d like it to be.
For a typical baby blanket, I do either 36″x36″ or 40″x40″.
Because I am making this for a “big sister” I wanted it a little bigger than the blankets the babies would get.
(And with some extra length, the new mom can snuggle with her “big girl”.)
The length here is about 58″ and I measured the height up to about 36″.
(For an average throw-size blanket, what I usually do is lay out my fabric and cut off the selveges.
In order to make it as big as possible, I fold it over triangularly so that I can cut out a perfect 58″ish square and go from there.)
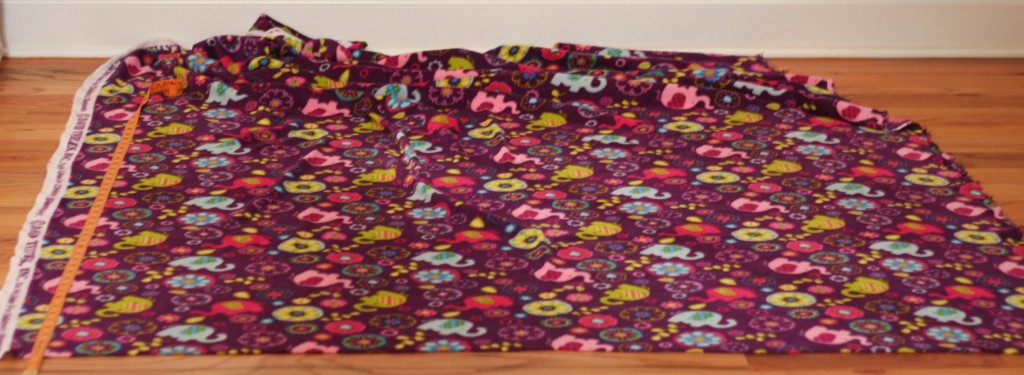
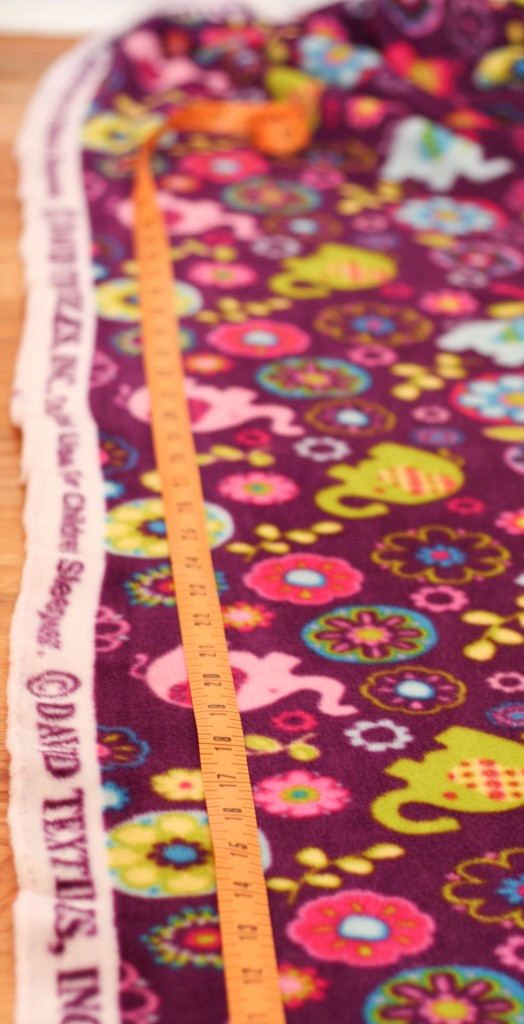
STEP TWO: Trim off the selvage(like the white part shown here) on two edges of the fabric.
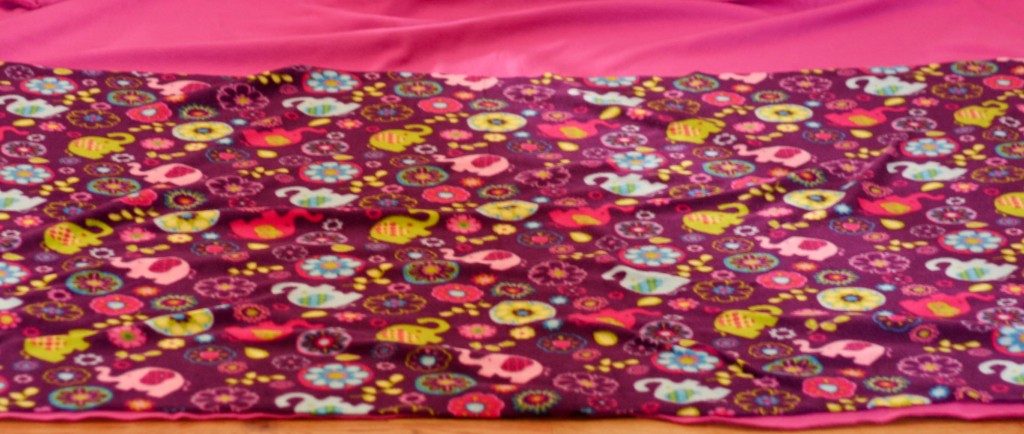
STEP THREE: Put the wrong sides together. so that when you tie it together the “good” sides are out.
(Here you can see that the “wrong” side is on the left. The “right” side is what you see on the right.)
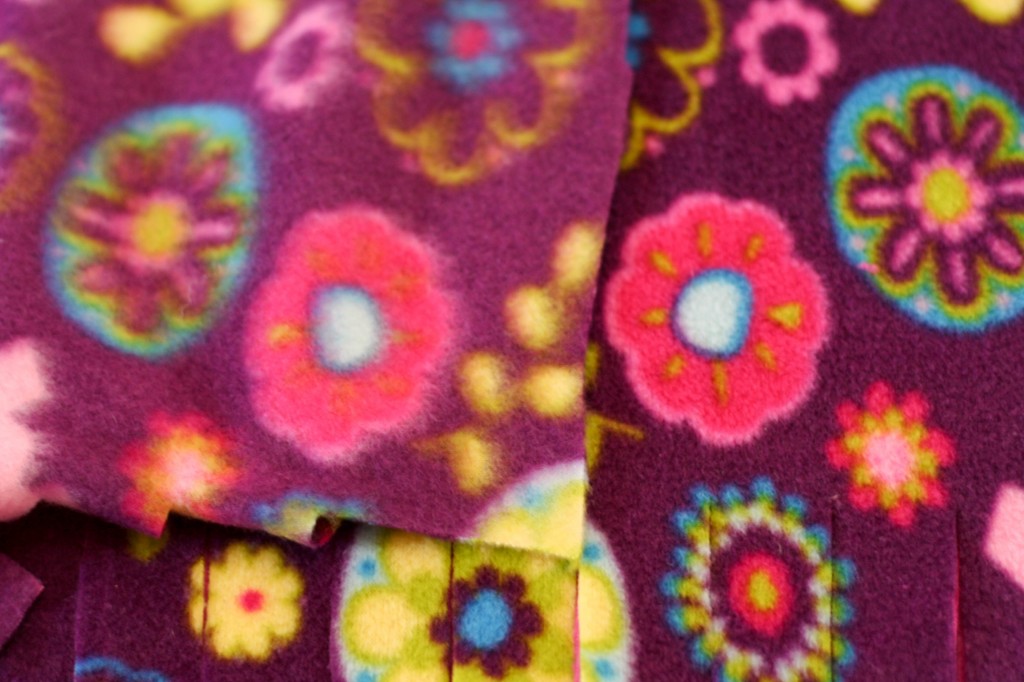
STEP FOUR: Because I’m lazy and don’t want to re-measure,
I used the first piece of fabric I cut as a template to cut out the second piece.
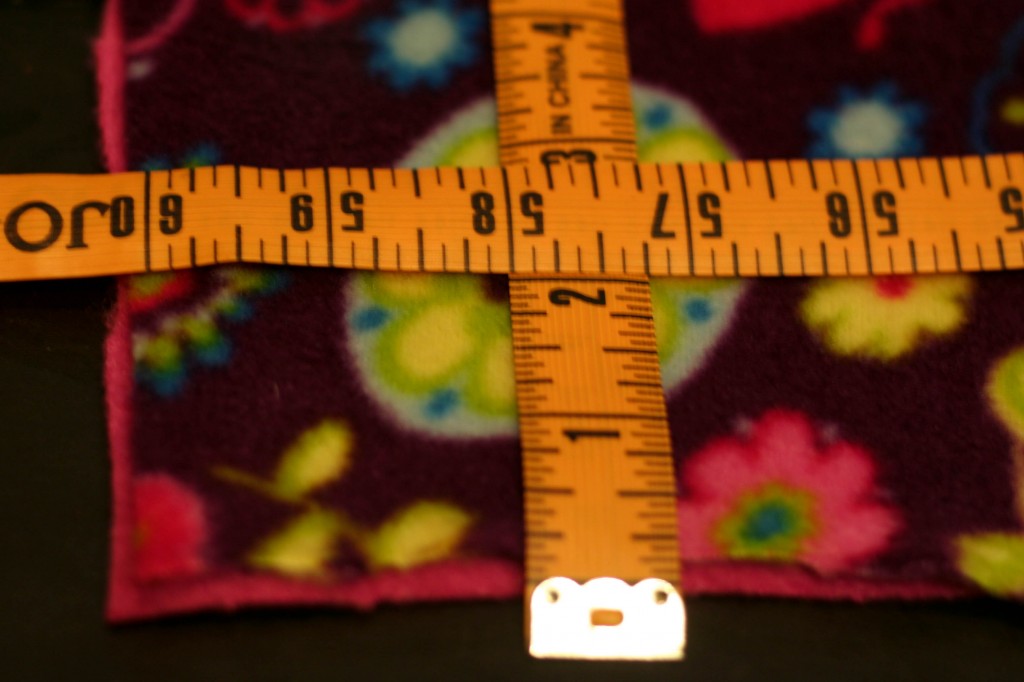
STEP FIVE: Cut out a 2″ square from each corner.
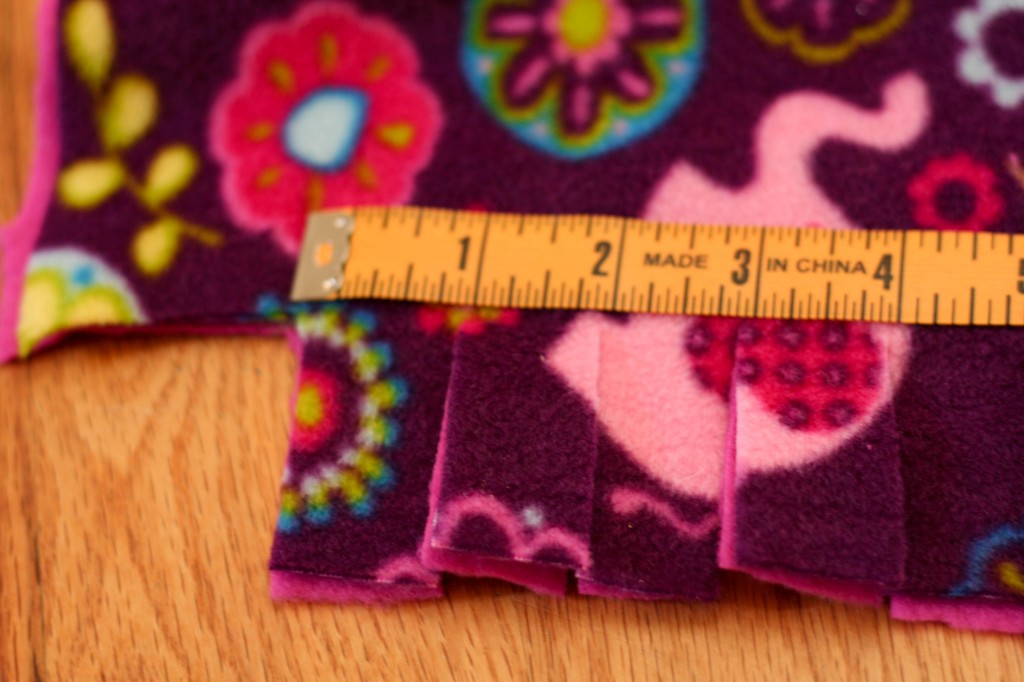
STEP SIX: Going from one end to the other, cut through both pieces of fabric about 2″ high in 1″ intervals.
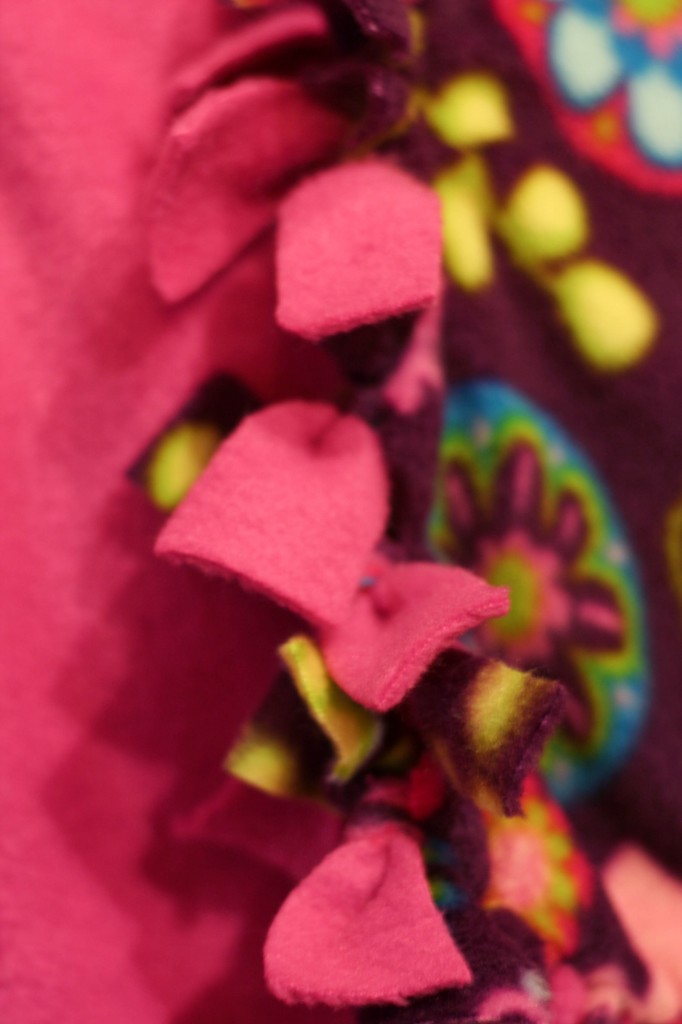
STEP SEVEN: Now tie ’em up.
Just knot one purple with one pink
and then the next purple with the next pink
and the next purple with the next pink
and so on and so on and so on.
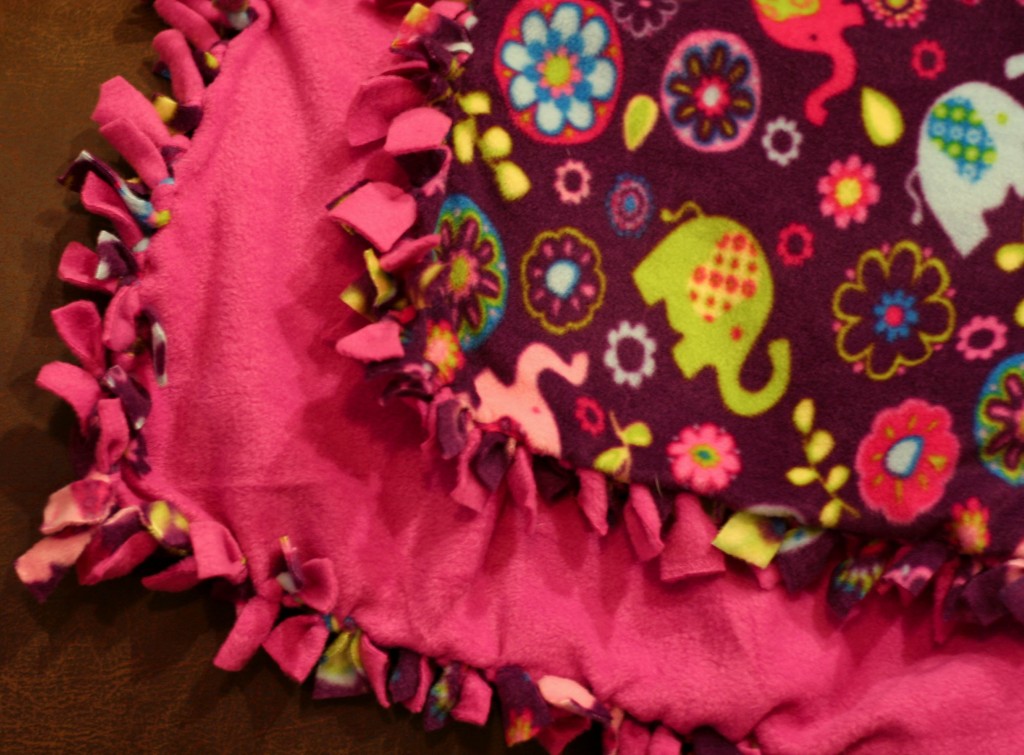
The end:
*******************
Want to see more of my crafty creations?
Check out the other 12 Crafts of Christmas:
Week One: Silhouettes
Week Two: Personalized Wall Clocks
Week Three: Glass Etching
Week Four: Fancy Fingerpaint Art
Week Five: Freezer Paper Stencils
Week Six: Tie-Knot Fleece Blanket
Week Seven: Jewelry: Ribbon & Pearl Bracelet, Wool Ball Necklace, DIY Button Earrings
Week Eight: Chalkboard Paint Ideas: Glasses, Chalkboard, Candle, Love Box
Week Nine: Frugal Finds
Week Ten: Personalized Pendants
Week Eleven: Edible Edition

