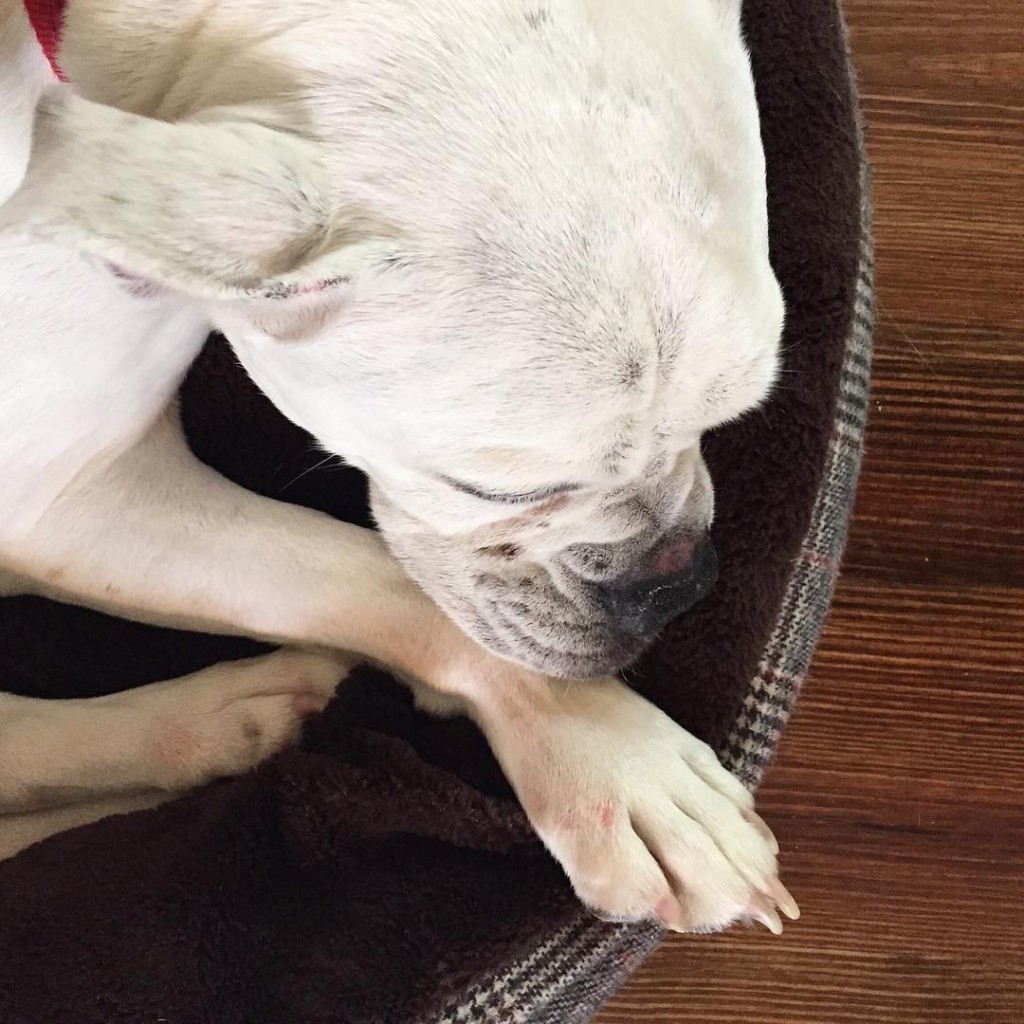
My heart says that she went off,
found a quiet spot,
and died.
But my head still turns
at every rustle in the bushes,
every distant bark,
every knock or click or bump.
****
For the past few weeks, I’ve been letting her ride in the car with us
like I used to when she was a puppy.
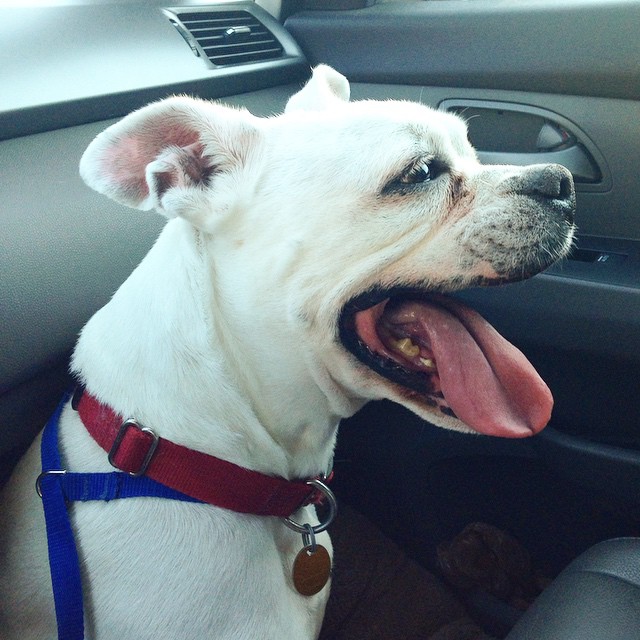
I remember this one time – oh, it brings tears of joy to my eyes even now –
I left the pups in the car when I went in to pay for gas
(Back when you had to – gasp – go inside to pay)
And she put her two front paws on the horn and honked
and honked
and honked
and honked
and honked
until I finally came back out to find
a big dog grin, tongue out and her little nubbin tail wagging as hard as it could.
And her silly sister sitting beside her with that dopey smile on her face.
****
I remember when she bit Marshall.
He playfully tried to pop my behind.
She never bit another soul.
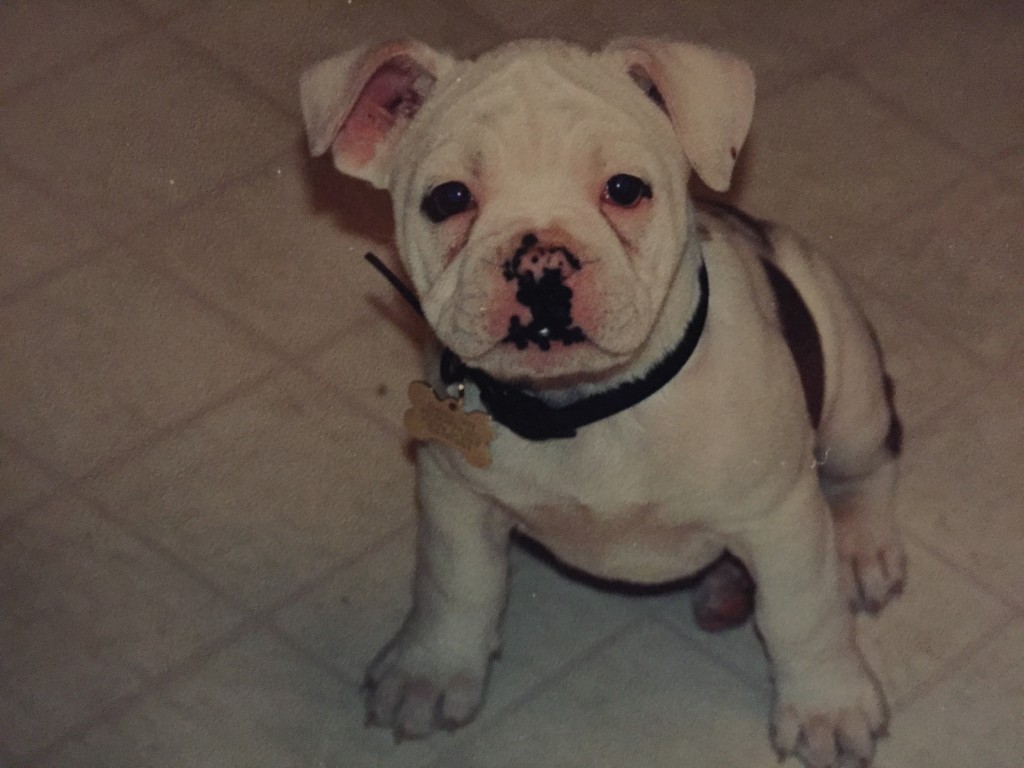
I remember how it took her approximately 8 hours
to outsmart the dog-proof trashcan.
I remember how she’d crawl under the crib
while the babies were sleeping.
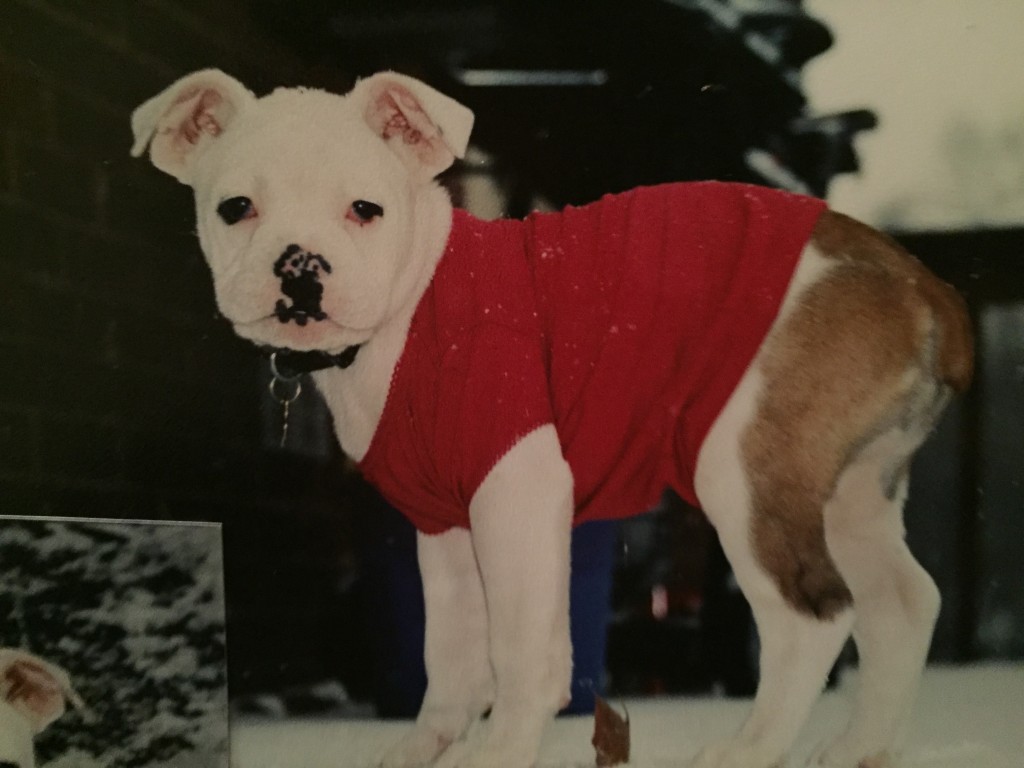
I remember how I bought costumes for the dogs one Halloween
and she ate hers.

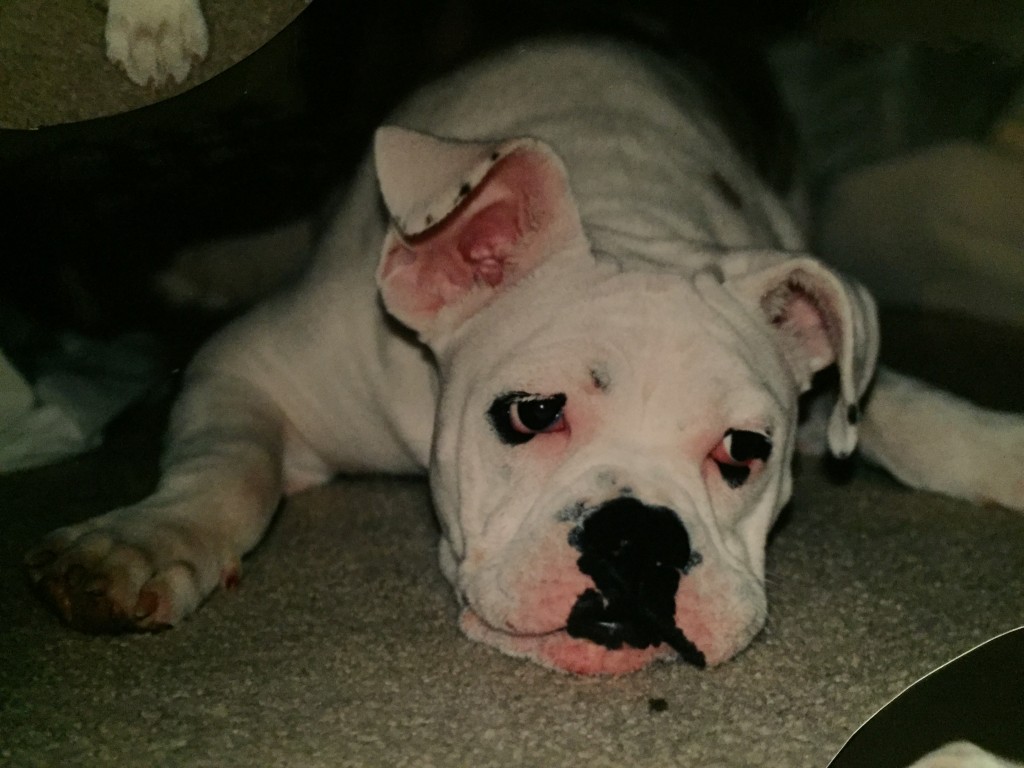
I remember how she’d squirm on the ground,
scratch her back and smiling.
And how she’d flop on the floor with at big sigh
and that one back leg tucked under.
I remember the time I was lounging in the hammock
and BOOM she jumped right up into my lap.
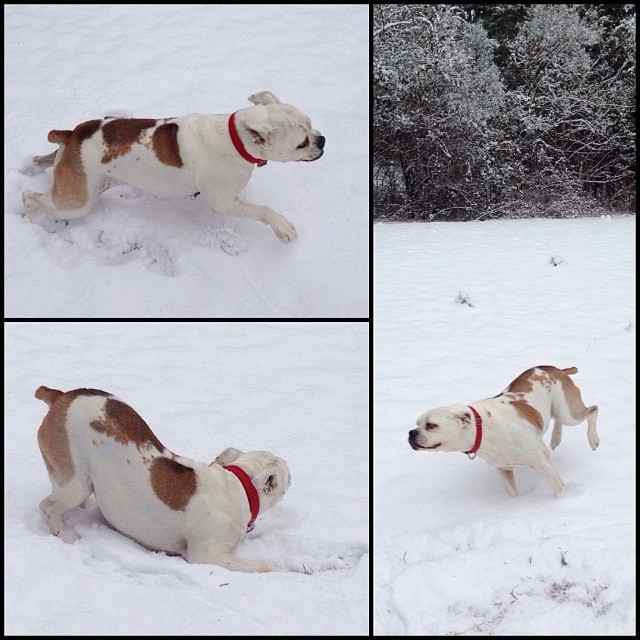
I remember how she hated the snow.
All 2″ of it.
I remember the beauty of her when she ran,
all muscle and speed.
And I remember how many times Marshall chased her and lost.
(Especially that one time when he full-body lunged at her and missed.
She and I were both amused.
He was not.)
I remember how she used to chase a light ’round and ’round and ’round
and if you ran the light up the side of the fence,
she’s go right up it, too.
I remember how her breath was always awful
and how she smelled like Doritos when she was wet.
(I never understood that).
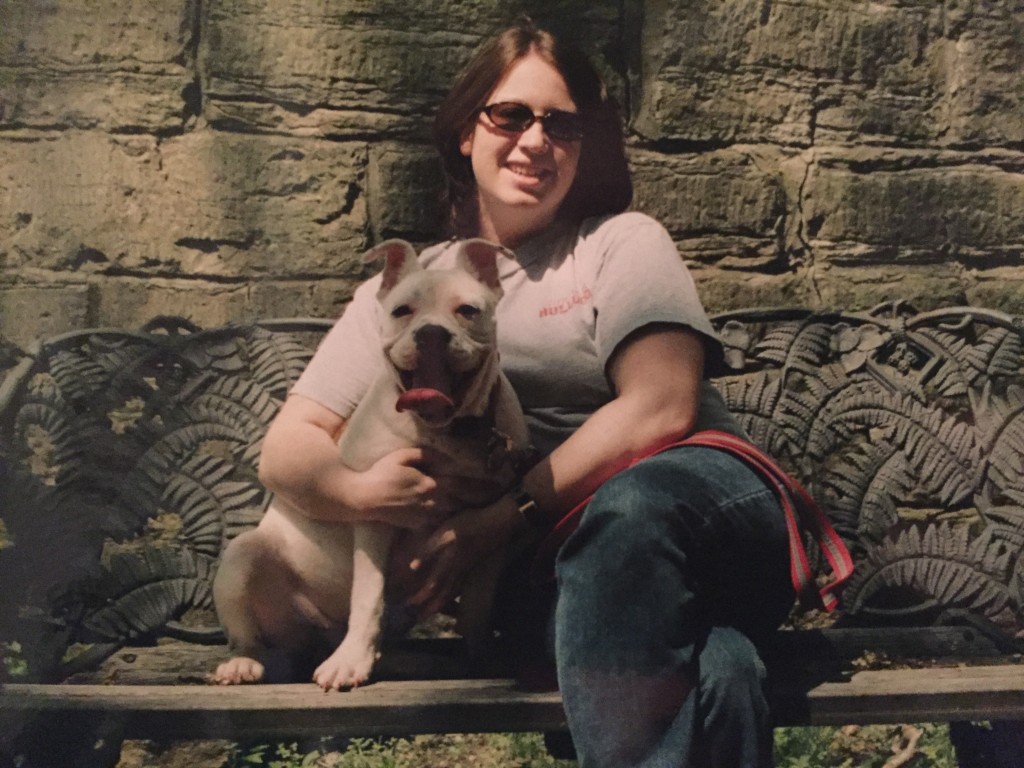
I remember how fiercely she loved me and I her.
How, when she was around, I felt safe.
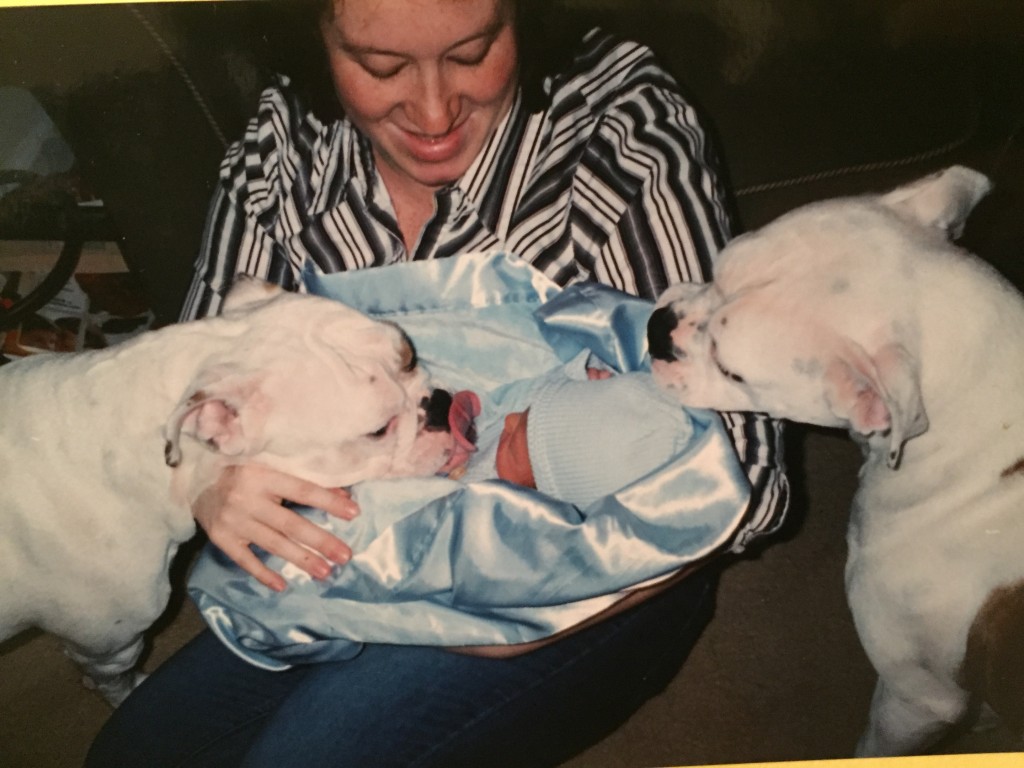
I remember how many tears she caught in those long, long days
of med school, residency, and early motherhood.

****
Fourteen years is a long time to have a shadow.
And now that the sun has set on her lifetime,
the darkness has stolen it away.
One day I may love another dog.
One day.
But it’ll never be the same.

I miss you, Maggie moo…


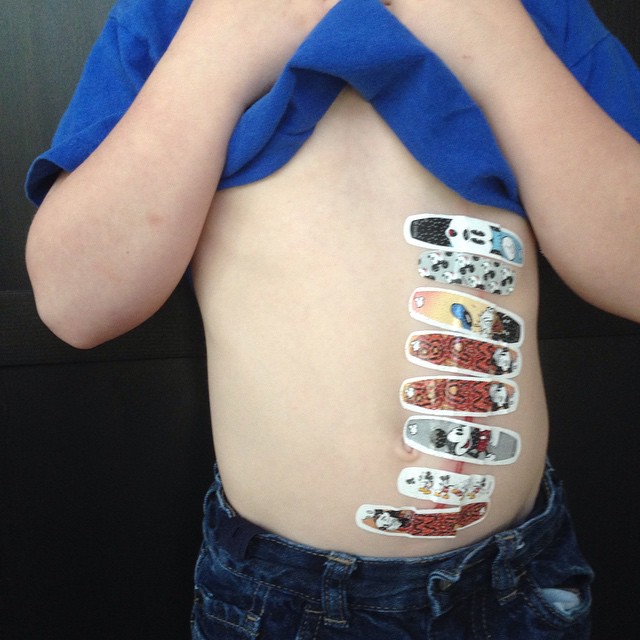
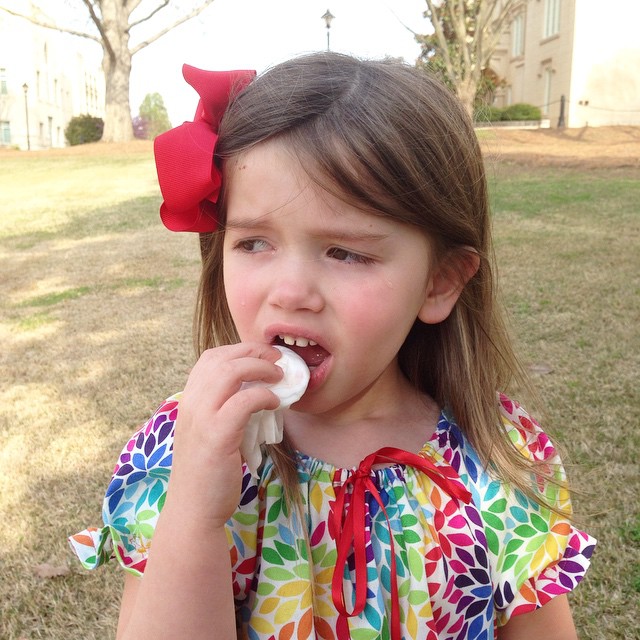
 I see you there, new mama, with that worn-out, weary look and I want to whisper to you: I’ve been there. And the moment you are in is terrible and beautiful and wonderful and exhausting. But it gets better. It gets better and better. Those little babies grow into toddlers that will try your patience in ways you never knew were possible, but you will love them even more fiercely than you do now. And those toddlers grow into preschoolers with their maddening I-do-its and unexplainable tantrums. And you will be weary of the whining, but you will love them even more fiercely than you did when they were babies or toddlers. And then those preschoolers slowly and suddenly blossom into kids. Real kids who can have a conversation with you and come up with jokes that actually make sense. Sometimes they’re even funny. You’ll have weird conversations when their uninhibited mind rushes and gushes with ideas that you know probably won’t work, but you let them dream anyway…because you never know, right? And they get bigger and bigger and your love for them grows as they grow and you think your love for them is as big as it can get and yet it keeps stretching the limits of your heart so much that sometimes it crushes your lungs and you just.can’t.breathe.