
Earlier this year I saw an idea that I just loved on Impress Your Kids(a fabulous site for families of faith created by the lovely OhAmanda). Amanda is a children’s-pastor-turned-stay-at-home-mom and she has gathered a great team of writers who share tons of great ideas on how to teach your children about God, the bible, and how to live a God-centered life. Not only are there ideas on how to effectively teach your children the importance of learning memory verses and Christian values, there are crafts and book reviews, too.
When I first “met” Amanda(online), I went back and scoured her archives. So many great ideas! But one of my favorite was a post about alphabet stickers and fingerpaint. I loved the artwork that she ended up making with her kids and knew that this was a must for us!
And (grandparents, close your eyes) what grandparent doesn’t love handmade art from the kidlets?
So this weekend the kids and I had a big fingerpainting session.
And what was supposed to be a Christmas gift for someone else
turned into a we-all-love-this-so-much-we-can’t-give-it-away-so-we-should-keep-it-as-a-gift-to-ourselves gift.
Good news? It was an inexpensive craft that even the baby could do.
And it was quick and easy!
What you need:
- Contact paper
- a sharpie
- scissors
(OR stickers if you don’t want to cut out your own)
- paint(I used those cheap Folk Art bottles of acrylic paint)
- canvas or other flat surface
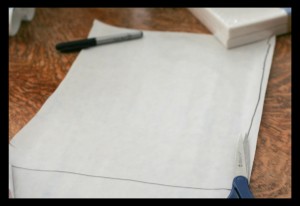
First I rough-sketched the edge of my 11×14 canvas onto the contact paper.
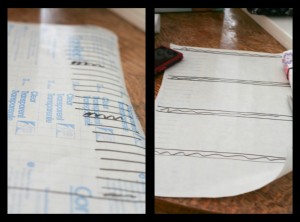
Then I used the lines on the back of the paper as a guide to make my own marks on the back(left)
And turned it over and drew guidelines on the front of the paper(right).
You surely don’t have to do this step, but I was looking for a somewhat uniform and straight look.
Next I hand-drew my letters and cut them out. (left)
(You could save a lot of time by purchasing pre-made alphabet stickers.)
(You could also print out letters from your printer and use them as a template,
but I don’t think you can print directly onto contact paper.)
And then I stuck them on the canvas, making sure to smooth out all the bumps! (right)
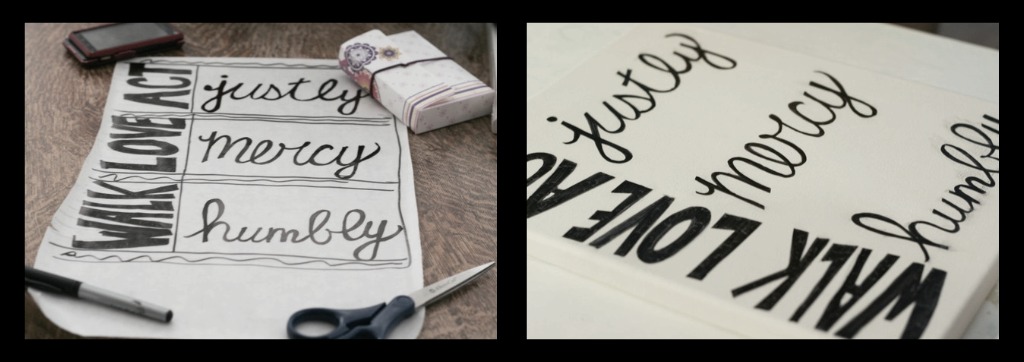
I did all of that (↑) before I ever clued the kids into the fact that we had a project.
I left the canvas sitting overnight and had to go back before we painted and make sure no bubbles had returned.
Now the fun part!
I gave them a plate with a small bit of each color paint and let them go.
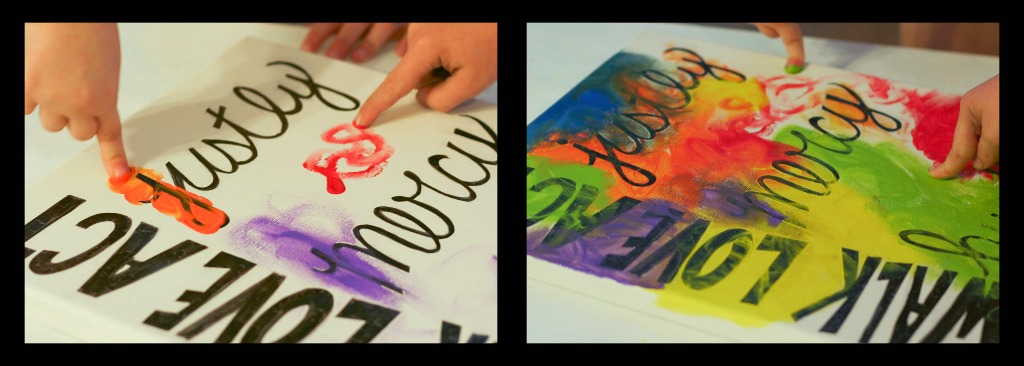
And then we waited for it to dry.
(The paint wasn’t very thick, so it didn’t take long.)
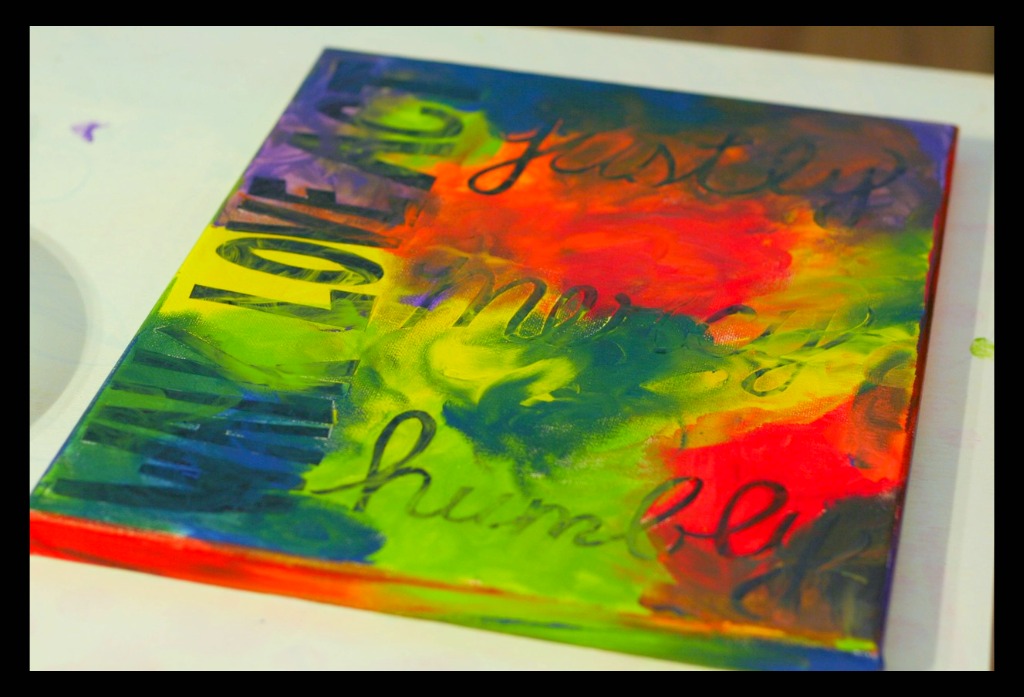
And then we sloooooowly peeled off all of the stickers.
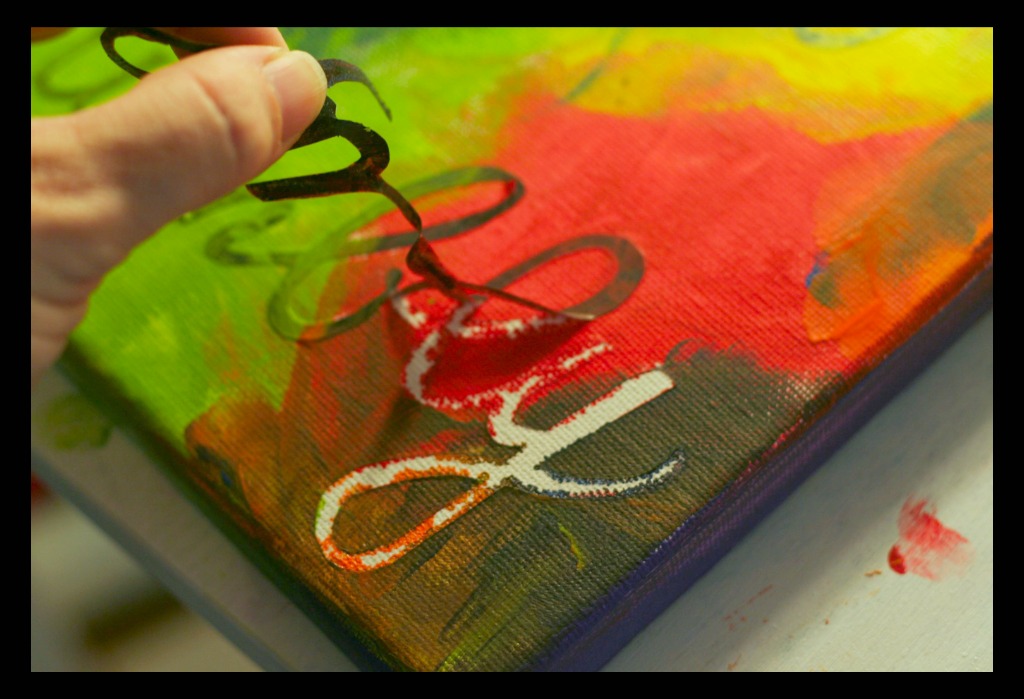
And…ta-da:
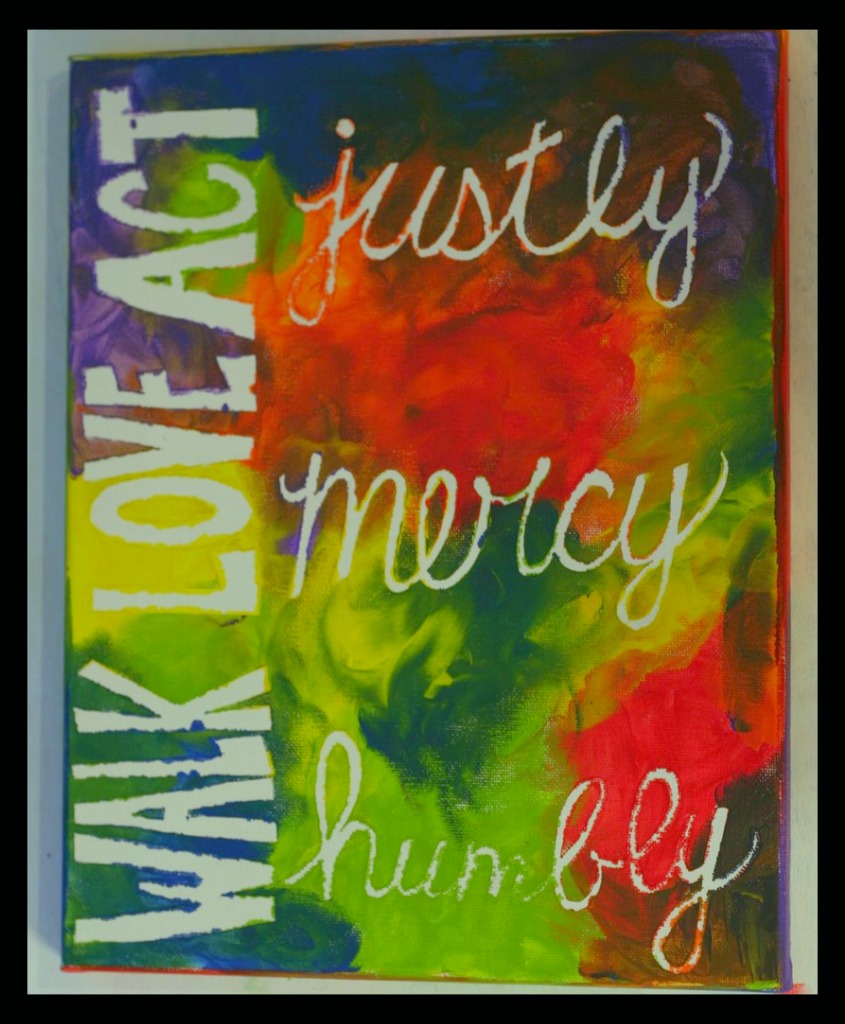
There’s no way(especially with the small lettering like the cursive seen here) to have nice perfect edges,
So I decided to make the letters pop a little more by outlining them in black.
You, of course, don’t have to do that.
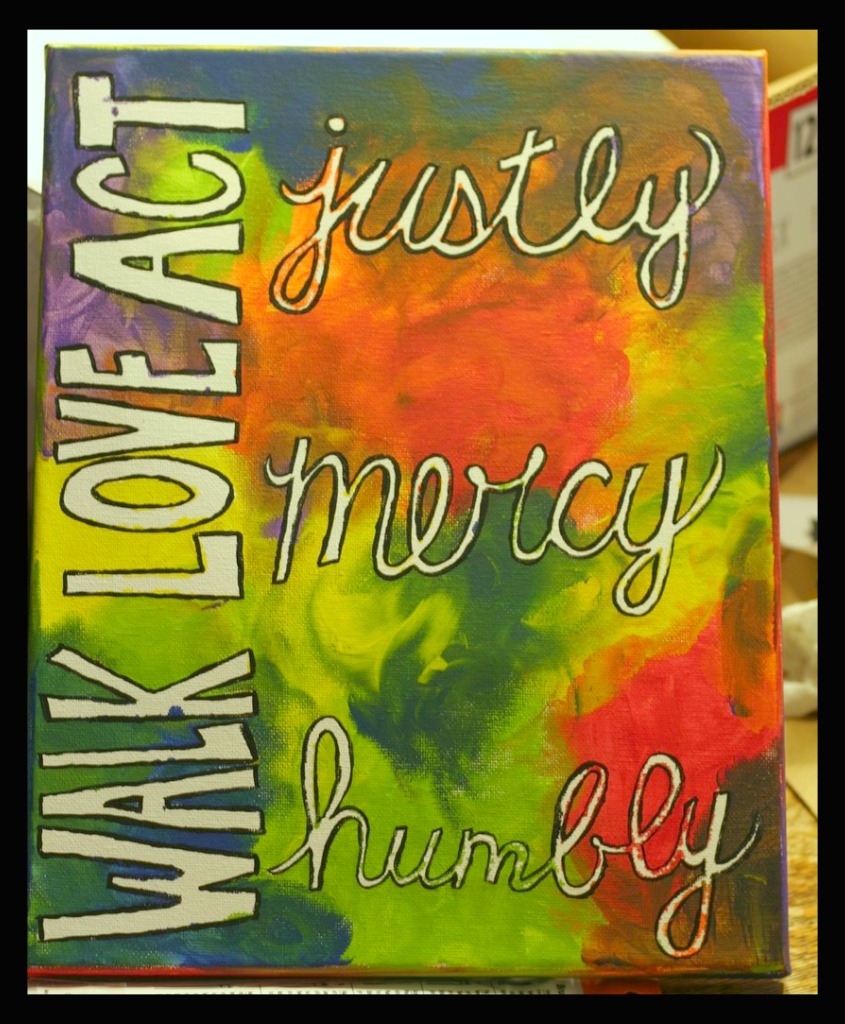
He has shown you what is good.
But what does the Lord require of you?
To act justly and
To love mercy and
To walk humbly with your God.
-Micah 6:8
*******************
Want to see more of my crafty creations?
Check out the other 12 Crafts of Christmas:
Week One: Silhouettes
Week Two: Personalized Wall Clocks
Week Three: Glass Etching
Week Four: Fancy Fingerpaint Art
Week Five: Freezer Paper Stencils
Week Six: Tie-Knot Fleece Blanket
Week Seven: Jewelry: Ribbon & Pearl Bracelet, Wool Ball Necklace, DIY Button Earrings
Week Eight: Chalkboard Paint Ideas: Glasses, Chalkboard, Candle, Love Box
Week Nine: Frugal Finds
Week Ten: Personalized Pendants
Week Eleven: Edible Edition

