Several months ago, our friends were adding on to their house. There was a big pile of scrap wood and I asked if I could have it. I had no idea what I was going to do with it and I’m fairly certain that Marshall wanted to throw one of those wood blocks at my head when he saw how many I’d stuffed in the garage.
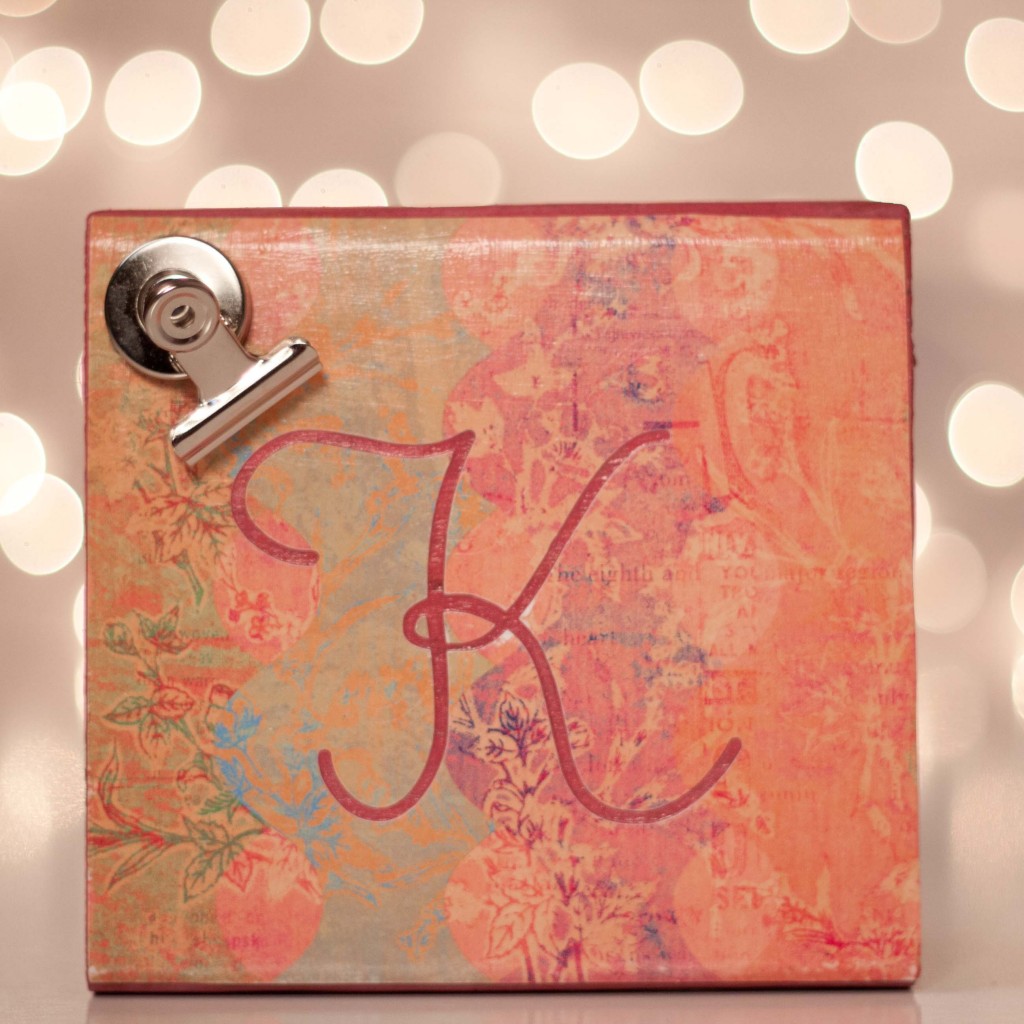
But I was thinking about inexpensive but still lovely ways to display all these pictures that take. I am terrible, horrible about printing out images but I want to do better. My biggest wish was to be able to easily change the picture displayed. I’m probably going to do another wall gallery similar to the one in Carter and Lydia’s room, but I’m not quite ready to commit to a big project right now. I do, however, have a few more Christmas gifts to finish up! Including drying time, these took me less than an hour to make! And aren’t the cute, cute, cute?
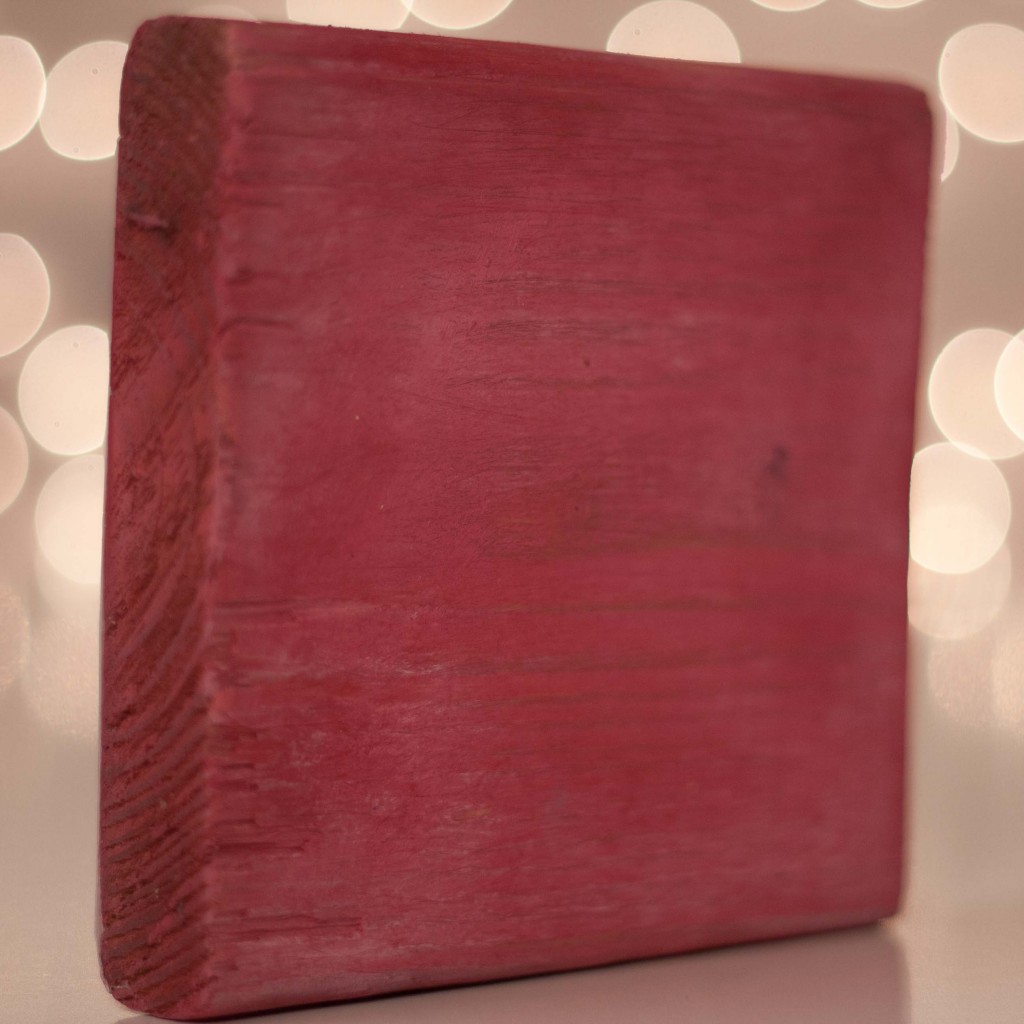
This is what it looks like “nekkid”. It’d also make a lovely note pad holder, eh?
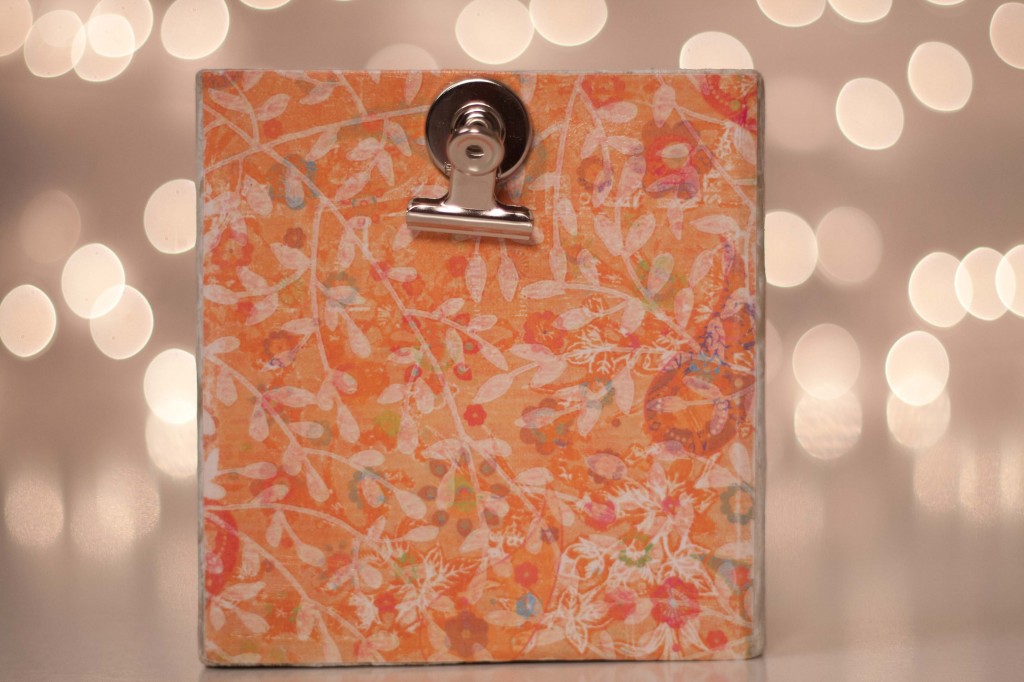
You’ll need: a piece of wood (the ones you see here are 4x4ish and 5x6ish), some paint (I used spray paint), some scrapbook paper, Mod Podge, foam brush, a piece of sandpaper and these little round top magnetic clips*
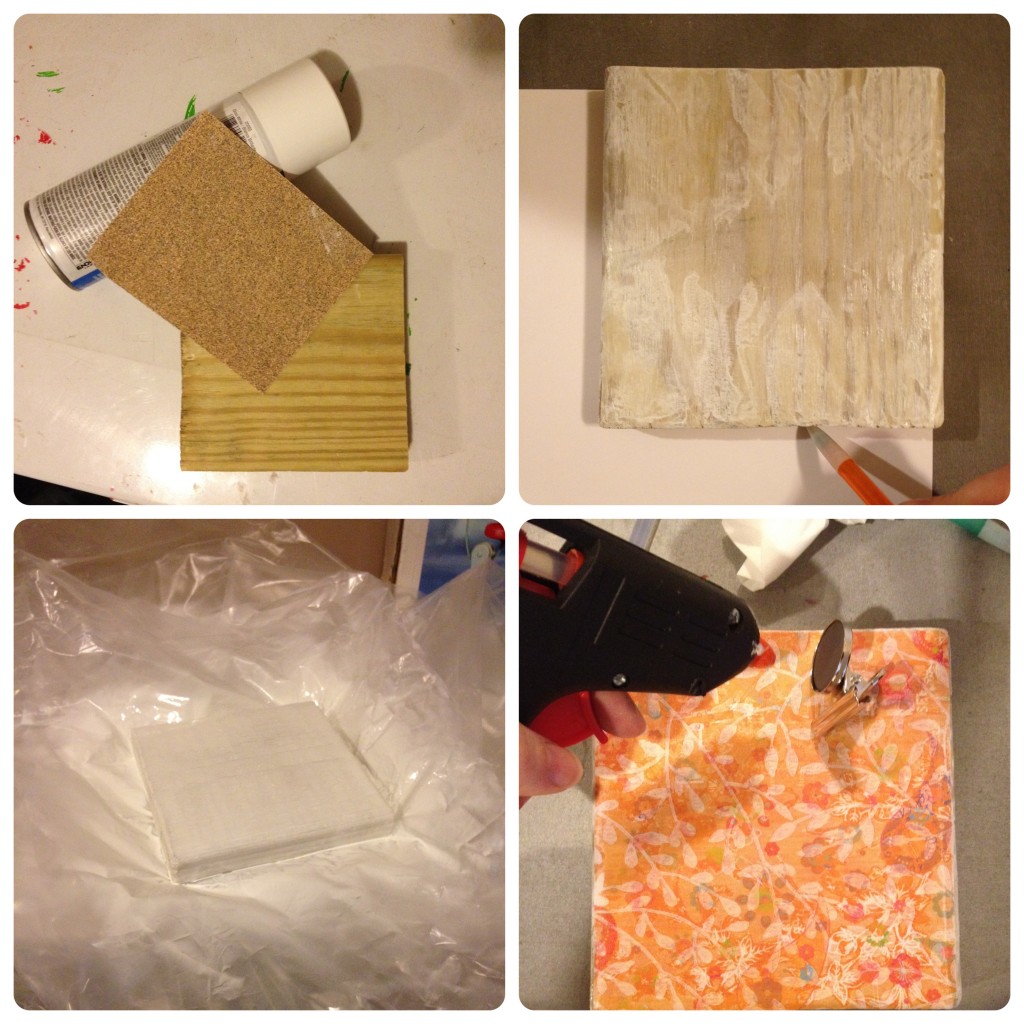
First you’ll want to sand down your wood piece and make sure it is dust free.
Mine is scrap wood, so it’s not a straight cut. I could have straightened it, but I kinda liked it.
Then you’ll want to lay down the front of your wood block onto the back of your scrapbook paper and trace the edges.
Spray paint your wood block and let it dry.
Spread a layer of Mod Podge on your wood block and put your paper on top.
Smooth it out and then spread on a layer of Mod Podge on top of the scrapbook paper.
Make sure you get out any air bubbles now.
Let it dry for 15ish minutes and repeat.
Once it is completely dry, take the clip and hot glue it onto the top (or side) of the block.
That’s it!
For the “K” one, I used my SilhouetteHD to cut out the K and then put the clip on the side instead of center.
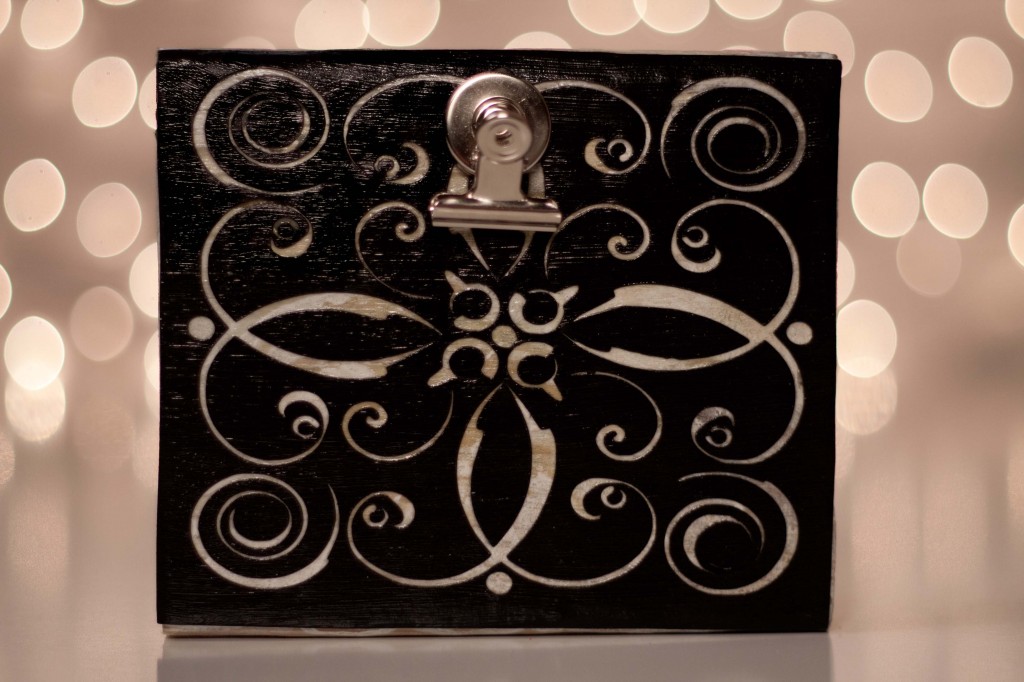
For the black one, I used my SilhouetteHD to cut out the pattern from black paper and then finished as shown above.
Whew! I finished all 12 Crafts of Christmas.
I’ll start looking for new crafts for 2012 on January 1!
Let me know if you think of something fabulous!
Merry Christmas, y’all!
*******
12 Crafts of Christmas 2011
1. Personalized Necklaces
2. Button and Lego Wall Art
3. Personalized ClipBoards
4. Fabric Covered Wire(Wall Art)
5. Stationary
6. You & Me Books
7. Personalized Welcome Mat
8. Personalized Dessert Carrier
9. Kid’s Artwork Cup
10. Ornaments
11. Sewing Tutorials
12. Photo Display Block
*Yep, that’s an affiliate link. If you click it and buy them, I’ll make one one-hundredth of a penny.

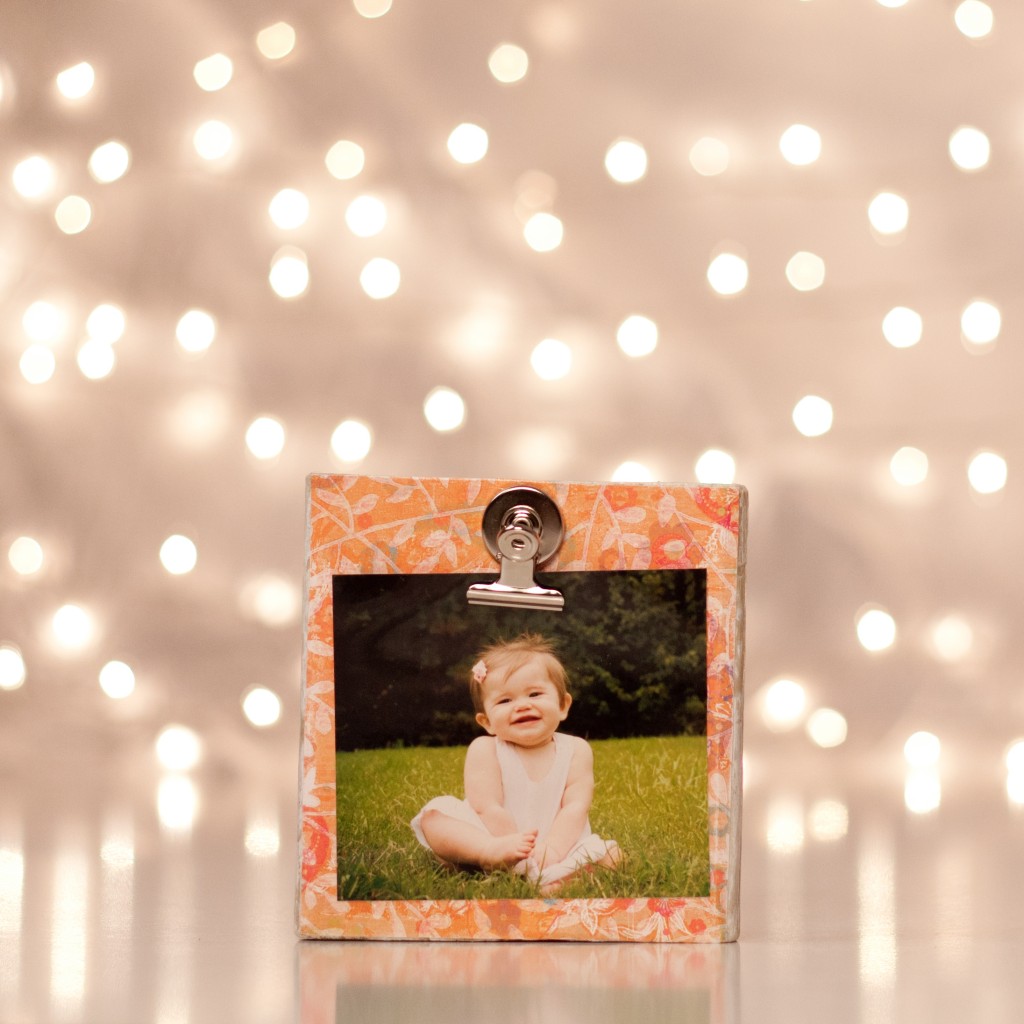


looks great! I may have to do this for some people on my list-cute photo of their kiddos and viola, instant gift.
I am also going to try the photo transfer to canvas using liquid gel medium…I will let you know how it turns out!
Lovely idea! Thanks for linking it. I’m going to pin this and maybe, just maybe it’ll be one of the project I actually get around to making. 🙂